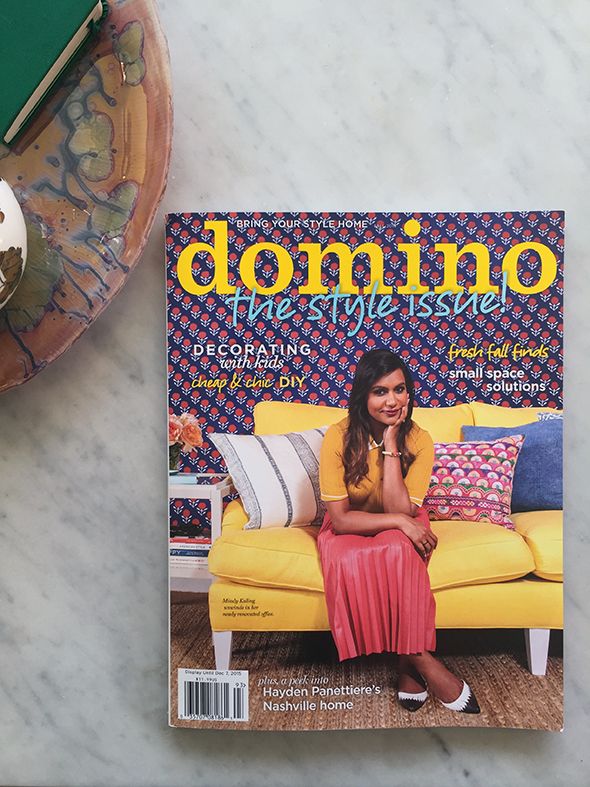
The fall issue of Domino is on news stands now and my latest story is right after cover girl Mindy Kaling's (adorable!) office feature.
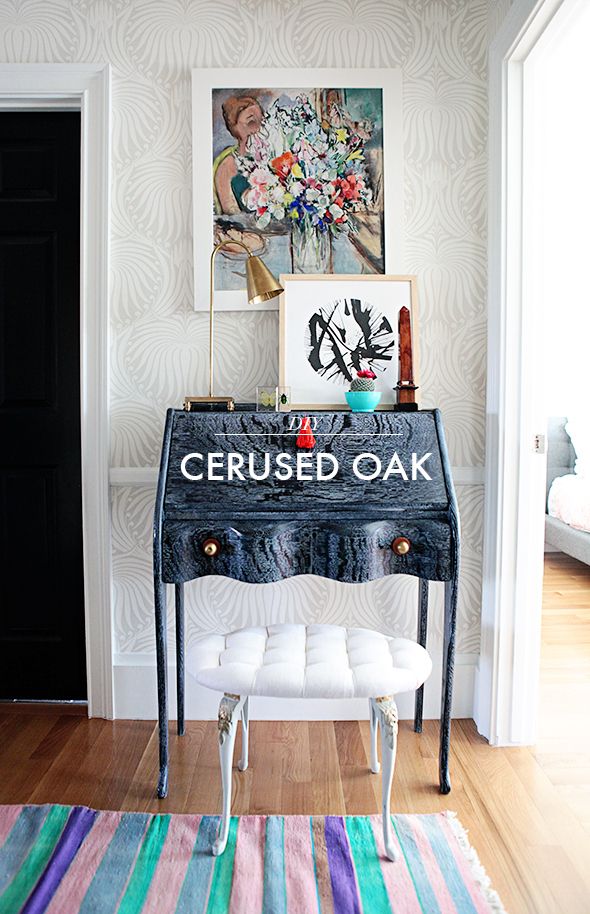
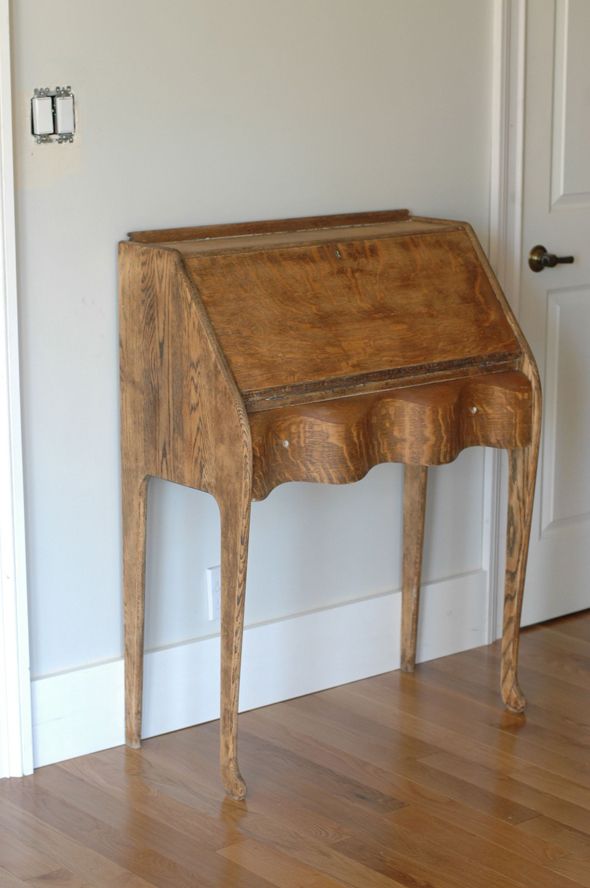
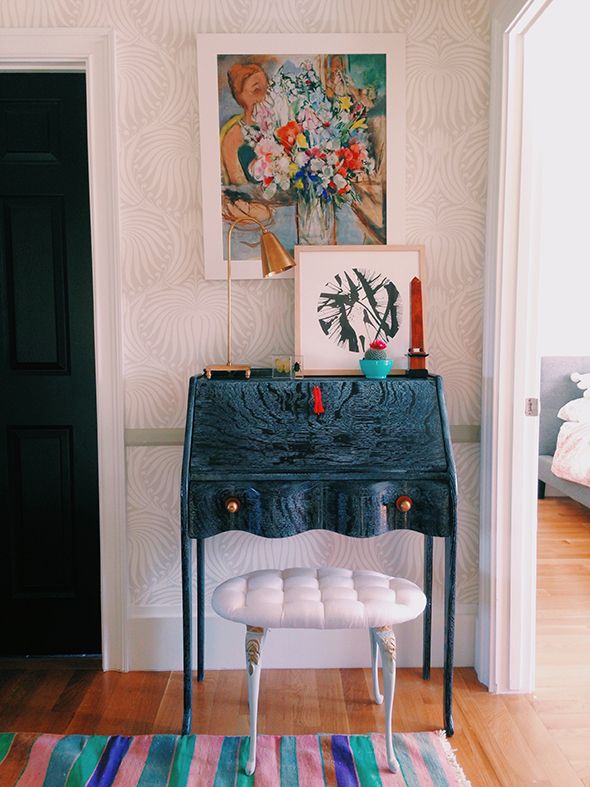
I was SO excited to get to share my transformation of this old tiger oak secretary. Remember this old thing?
I had been debating whether or not to change the finish for a while, but after seeing this beautiful cerused side table on 1st Dibs, I knew I could achieve a similar finish with a little research and some elbow grease.

I read about a million different articles about cerusing and liming oak furniture. It turns out that people have been doing basically the same steps for hundreds and hundreds of years! It's not too hard to do and requires absolutely zero artistic ability. You'll just need a piece of oak furniture - it has to be oak. And the more prominent the grain, the better.
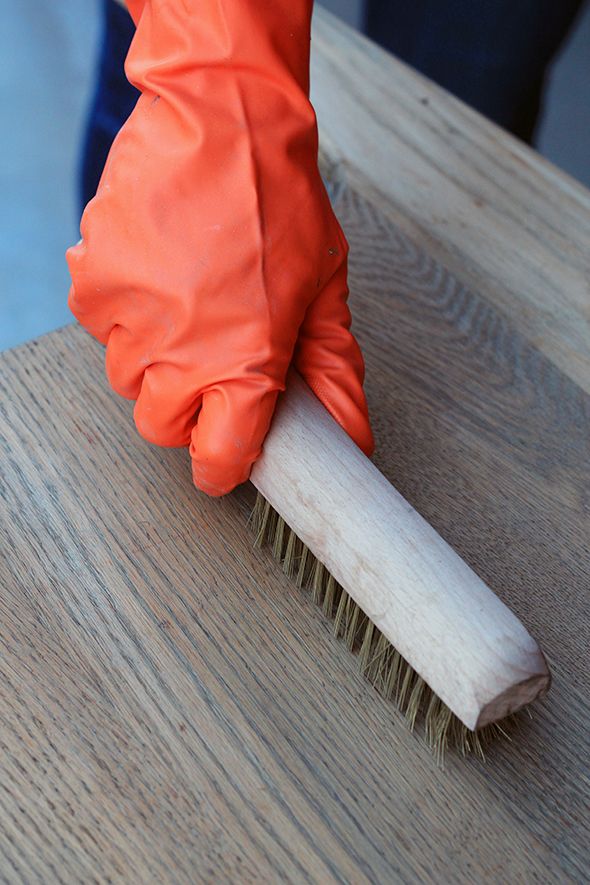
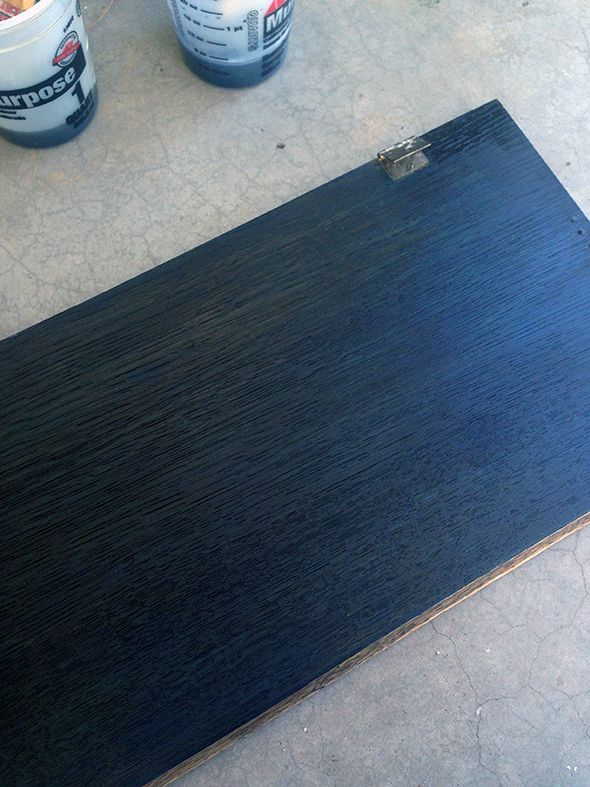
The first step is to strip the wood of any stains or varnish. I used a gel stripper and a brass-bristled brush to gently scrub the wood in the direction of the grain. See how the soft brass bristles pull out the little bits of old dark stain from the grain?
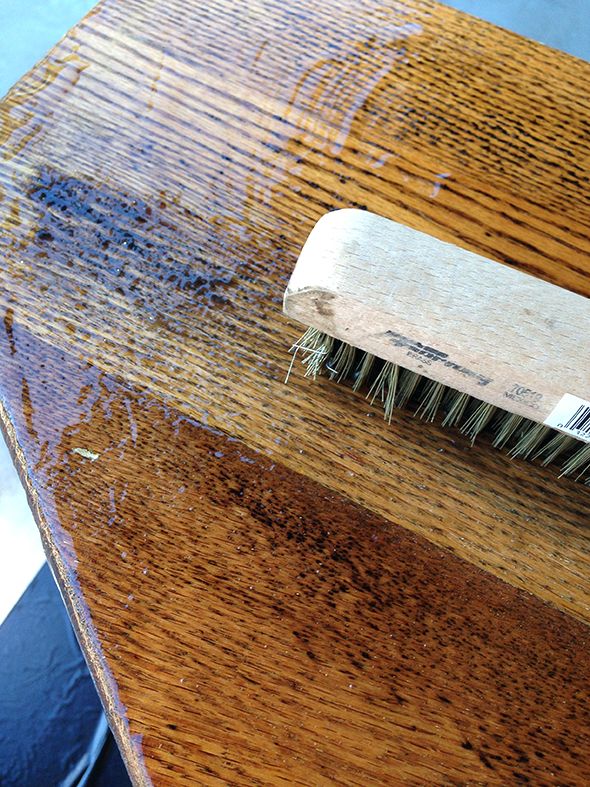
If you've done it right, the grain marks will be open and clean and ready to fill with wax.

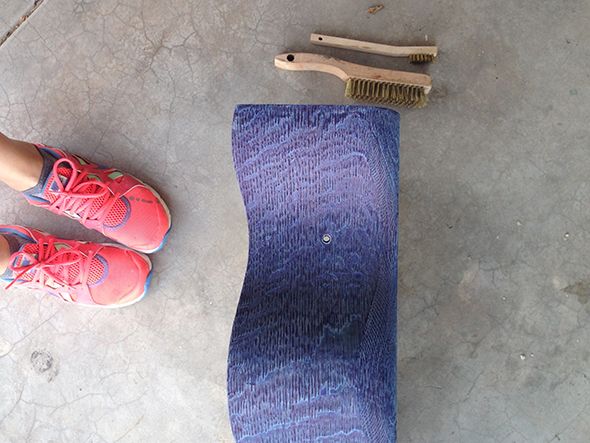
If you want the wood to be a natural finish, you can go ahead and skip this next step, but if you want the wood stained at all, you'll need to use an aniline dye in lieu of a traditional stain that you can get at the hardware store. Dye will beautifully stain the wood without filling any of the grain. You can buy almost any color of dye online. I used the indigo shade for this project.
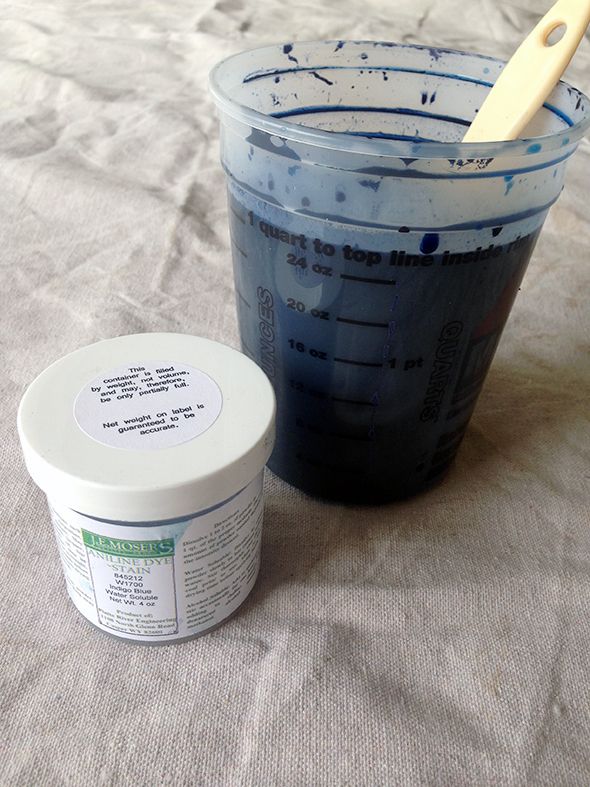
I just followed the instructions on the dye container and mixed a few teaspoons of the powder with some denatured alcohol before brushing it on the secretary.
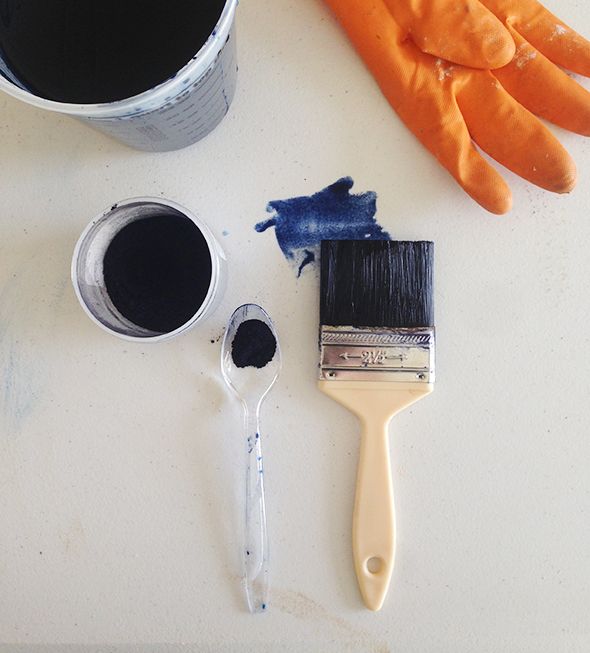
It only takes a coat or two of the dye mixture to get a nice, deep color.
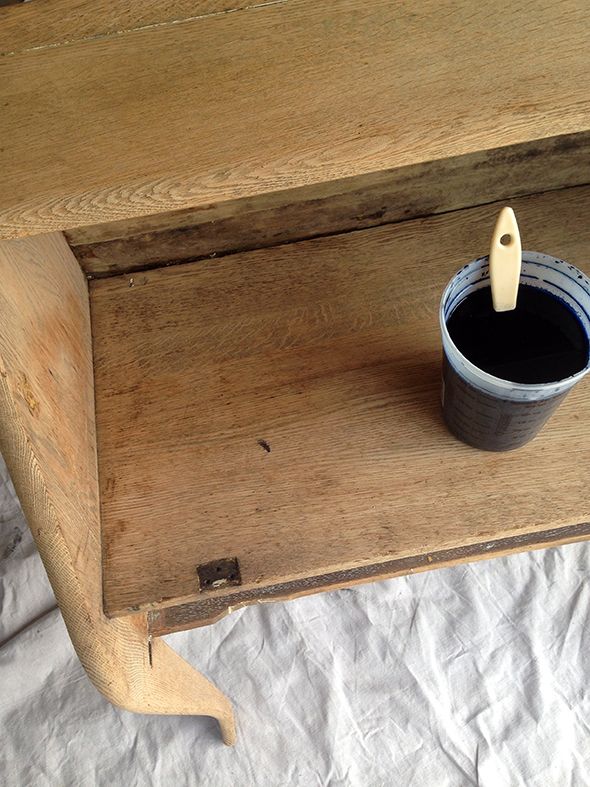
As the stain starts to dry on the wood, it gets lighter and sort of chalky. But the color deepens again when you seal it. I don't have a photo of this step but it's important to seal it with shellac before adding the liming wax. I like Zinsser's shellac because it dries quickly and isn't too thick.
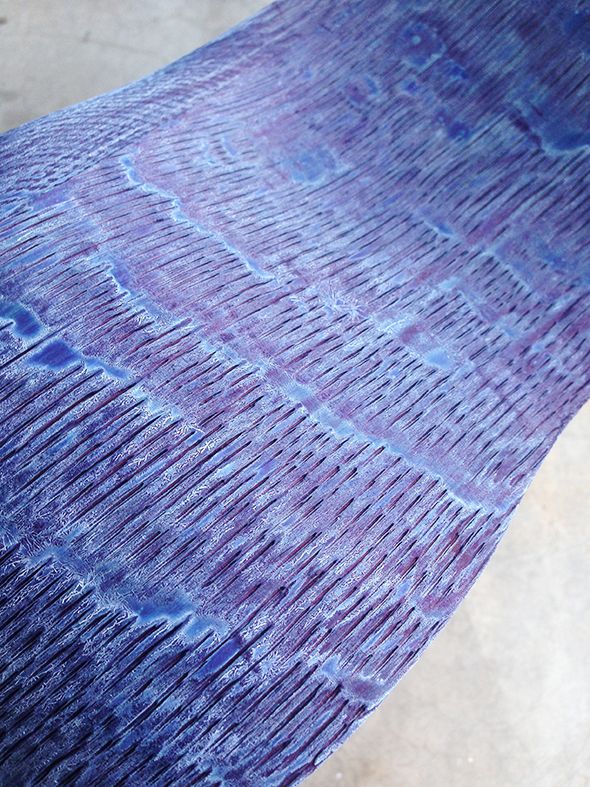
After the shellac dries, the dyed wood will be a dark navy indigo color, and you'll be ready for liming wax. This wax is my favorite.
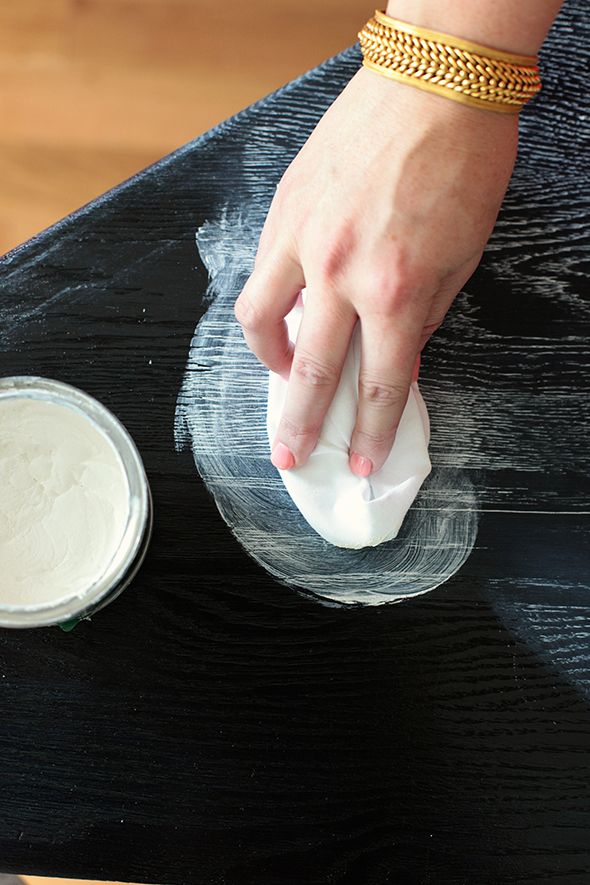
The actual liming step is super easy - you just wipe the wax on with a soft cloth and then buff off the extra that's sitting on top. You only want the white liming wax to be in the grain and none on top.
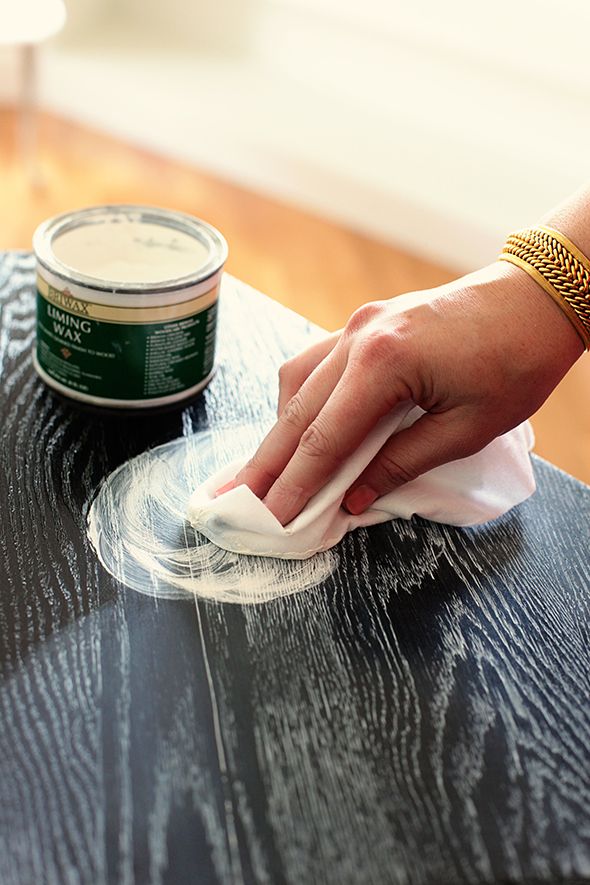
This is why it's important to shellac the wood before using the cerusing wax. The wax won't want to stay on the surface of the sealed wood as much, but it will be happy to hang out in the grain. Check out that beautiful pattern!
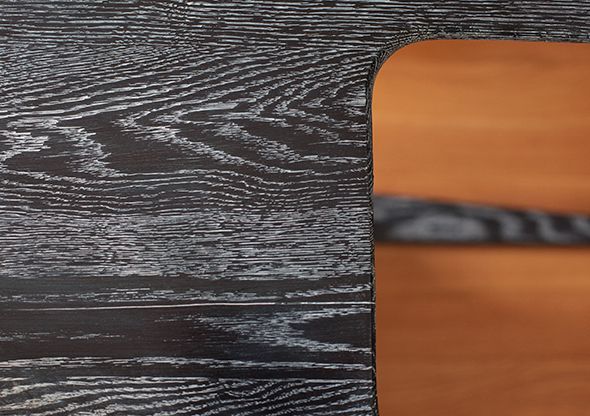
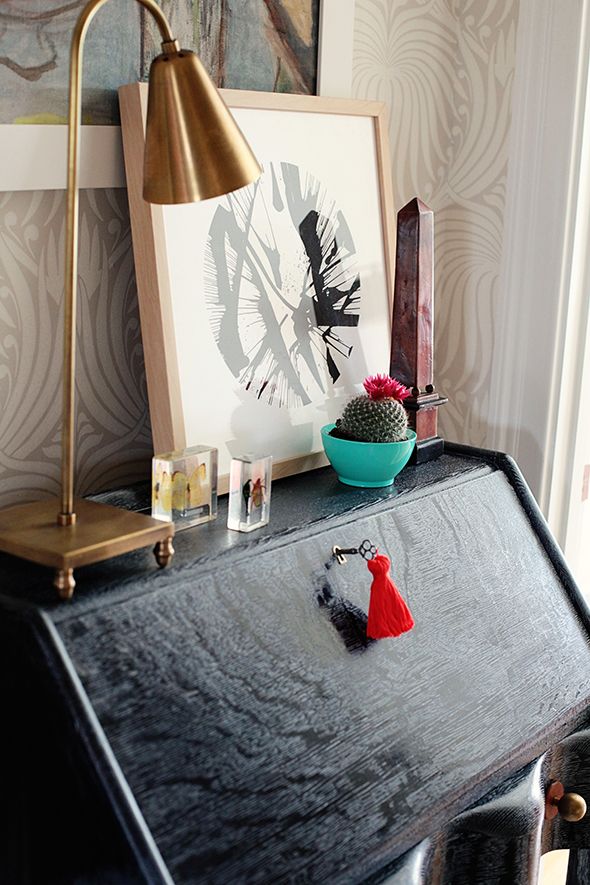
I really love how this project turned out. I think cerusing is such a fun way to show off the natural wood grain of vintage/antique oak pieces!
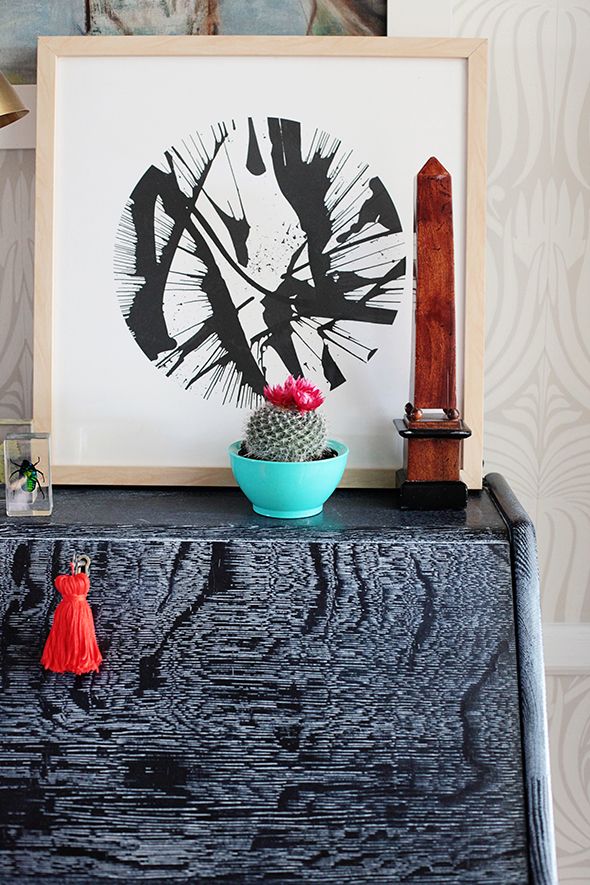
And the indigo stain is such a unique look too. I think color stains are perfect for this type of application. The secretary is such a fun statement piece now, sitting up in our landing by the girls rooms.
Don't forget to check out the spread in the new Domino! xo
Walang komento:
Mag-post ng isang Komento