Hi all! Ursula from Home Made by Carmona, back again for a fantastic new project! Last time I shared how to make a knock-off Restoration Hardware phone charger… so great for using up leftover scrap wood and SO stylish you’d never know it was scrap! Well since I’m all about using what you have, I have another fun project that you can use up some of your scrap on. And the best part, you get to be mom or dad of the year after this little project! (Go ahead, order a couple small sized shirts that says “My parents ROCK!” for the kids).

This cute little play kitchen is a huge hit in my house (granted I have 3 girls fairly close in age), but even the hubs was checking out all the little features. After this project, Pottery Barn play kitchens won’t have anything on you!

How to Make a Kids’ Play Kitchen from a Cube Shelf
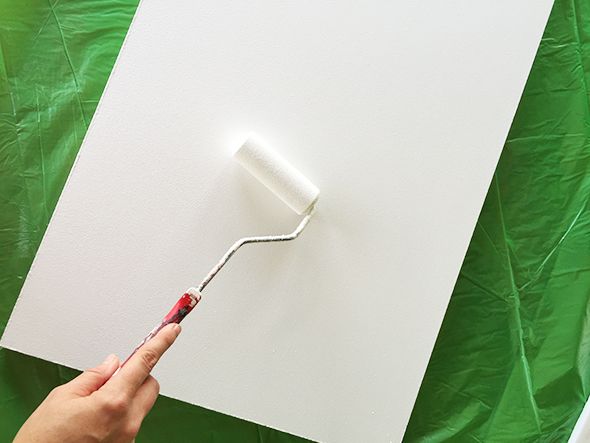
Let’s get started. First you’ll need 2 cube shelves. If you happen to have a couple cheap shelves that aren’t quite cubes, just cut off the extra shelf space at the bottom with a jig saw, and presto…cubes! This really takes all the hard work out of your kitchen play set. If you are buying new cubes for this project (which are quite inexpensive at Walmart or Big Lots), assemble them without the backing (you can add the backing at the very end after you’ve finished the kitchen set). If any part of your cubes need to be painted, now is the time to do so. It is best not to paint it since they will see a lot of hard play, but if you really want I suggest Krylon’s plastic furniture spray paint and use a polyurethane spray after to seal it.

Moving forward each of the amenities is an optional feature based on what you want for your kitchen set. So pick and choose a set of features, al a carte style, and get started!
The Kitchen Faucet & Sink
Well, I suppose this is the only feature I’d definitely be sure to include. I mean, how weird would it be to have everything but the kitchen sink? Plus the sooner you get them to like the idea of doing dishes, the more awesome it is for you in the long run. Tee hee hee.
Use a small rectangular plastic container for the sink. A clear one is best, then you’ll spray paint the OUTSIDE with a metallic silver spray, then seal with clear spray paint. Why paint the outside and NOT the inside? You can see the silver show through since it is clear, but it won’t get scratched since the painted part will be recessed.

Use the plastic sink to mark the space you need to cut out. Drill around all four corners so you can place your jig saw inside and cut out a sink opening. Be sure you have left adequate space for your faucet and about an inch extra behind that (which you will need if you create a decorative “back splash” top piece).
You can use PVC pipe to craft a faux faucet, but you’ll probably pay about the same for a real faucet from the thrift shop. If you have a Habitat for Humanity ReStore nearby, that is your best bet for old outdated faucets. I salvaged mine from an old sink when I updated, but I also see people throwing away old sinks roadside from time to time, and that would be a good time to salvage the faucet part. Break off the extra piping from the faucet and just leave the attachment threads. Mark where they will go, drill your holes, and lower it into place. Secure using bolts at the bottom.

Isn’t it a cute little sink when all brought together?

Curtain Divider & Storage Rods
Of course this is one of the optional features, but look how cute it is! You can hide the sink bottom with a curtain divider, and the kids can still store little things in the leftover space underneath. Simply spray paint a dowel rod, drill a hole through the side of the shelf that will be facing the other shelf (so it will be hidden when you are done). Drill a shallow hole (don’t go through the other side!) on the opposite end where the dowel will be supported, and use a little wood glue to ensure it stays in place.

I did this a second time on the bottom shelf to create a cute little dowel rod where the kids can hang cups and utensils to make the most of the storage space. Then I hung them using shower curtain hooks!
Oven Doors & Light
I have a double oven at home, so my girls loved the idea of a double! You’ll need two basic hinges per door. Measure the inside of the shelf for height and width, and be sure to account for the space you’ll need for the hinges in the height. You want the doors to be a little snug, but not too snug (or too loose!), so measure twice and cut once.

Next you’ll draw a “window”, drill a hole for your jig saw to enter and cut it out. Be sure to sand it really well, we don’t want our little ones any possibility of splinters. Paint your doors, and add the plastic oven “windows” to the front, but don’t add pulls until after you have finished the oven doors attached the hinges.

For the “glass” oven window you will need an 8×10 sheet of thin plastic. You can find it in the glass section of the hardware store for about $2! Using some craft shears (or metal cutters work) round out the 4 corners before screwing the plastic into place on the inside. Then you are ready to attach your doors via the hinges! Place them as seen below.

Oven lights are a fun little addition. Your little ones will LOVE the little push lights adhered to the inside of each oven shelf. You can use the keyhole attachment it comes with, but even better use 3M strips instead so it won’t jostle about.

Stove Top Range (Electric or induction styled!)
Use the same 8×10 sheet of thin plastic used on the oven doors. Using some craft shears (or metal cutters work) round out the 4 corners. Trace circles to create “burners” using a gold or silver sharpie, then spray paint on top of the circles with black spray paint. Flip it over, and the non-painted side will face up to mimic an electric burner. Carefully drill through the 4 corners and secure in place with screws (which can be painted black to blend).

Now your kids have that induction stove top you’ve always wanted. Hahaha! Tell them how awesome that concept really is.

Oven or Stove Knobs
If you can salvage knobs off an old washer/dryer or oven, then it is even more authentic! However, if you can’t find any, use Sculpey clay to fashion some knobs. Use a cap or mini cookie cutter to create perfect circles, roll and cut out little tops for the knobs, and at the bottom imprint the screw size you will use. Then bake at 275 for 15-20 minutes. Once it is cool, spray paint it the desired color.

Decorative Top/Backsplash Area
I love the idea of creating a backsplash using vinyl tiles, but my girls wanted something a little different. So I created my decorative backing by folding craft paper in half and tracing the design I wanted the back to be. Make sure it fits the width of the single shelf, then cut the template out while still folded to maintain uniform consistency.

Once you get it to look the way you want, use it to trace the design onto the wood, and cut using a jig saw. Sand it well, little fingers will run all along this section especially.

This will be secured in place right behind the faucet space (remember that extra inch of leftover space?). Place it where it should sit flush with the back of the shelves, and trace. Now you know where to drill your guide holes. I used deck screws and wood glue and screwed it into place from the underside.


Add a little painted design if you don’t go the back splash faux tile route. I also added my knob to this area although it could have been placed on the stove top area.
Secure Shelves & Add Feet
Finally secure the two shelves together by adding your shelf backing, or if you don’t have one use connectors (either will work).

This kitchen playset can grow with your child. Leave it footless on the ground while they are small, then add feet to raise it up higher when they are a little older. Your little sweethearts are going to flip when they see what you have created. Yep, parent. of. the. year.

Hope you like this project! Summer has been great for DIY projects in the Carmona household. From outdoor West Elm knock-off projects, such as these DIY benches, to organizing projects like my easy-make Corbel shelves, to bigger projects like my DIY wardrobe, I think you’ll love them!
——————————————
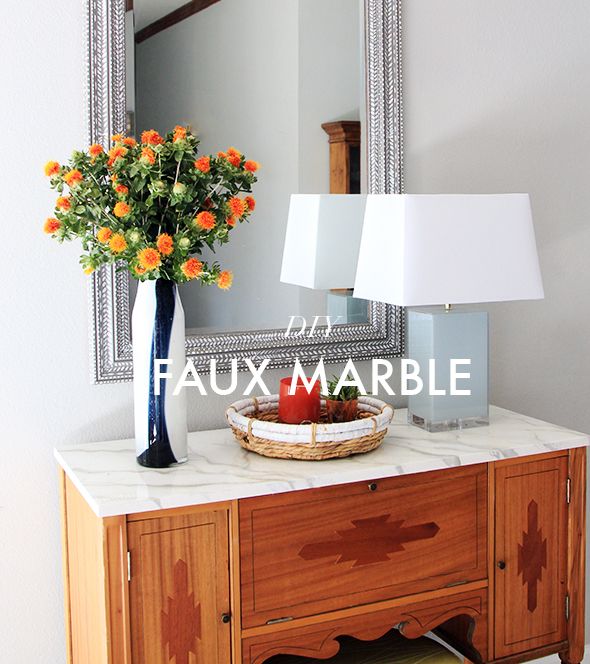
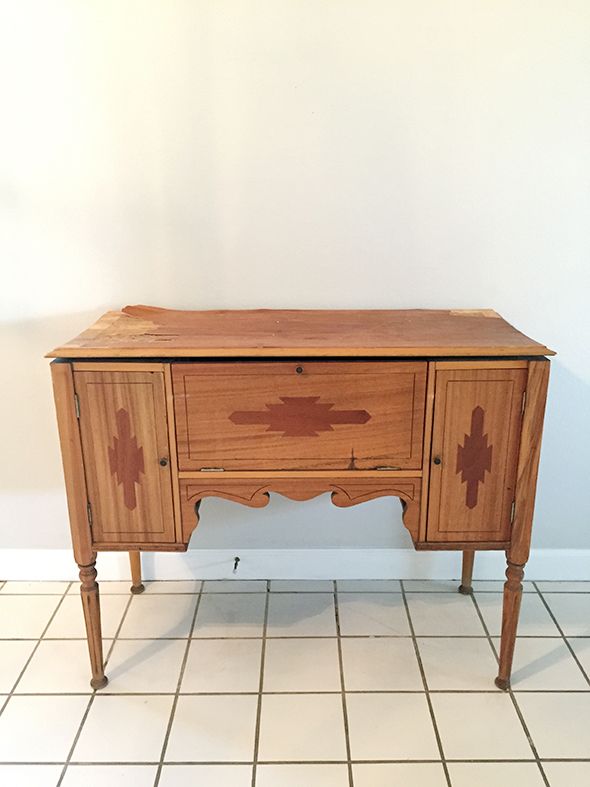
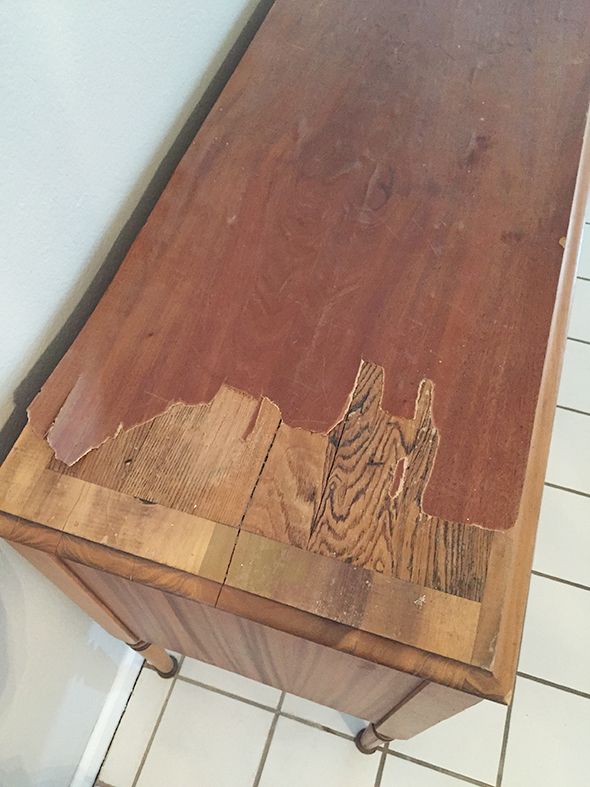
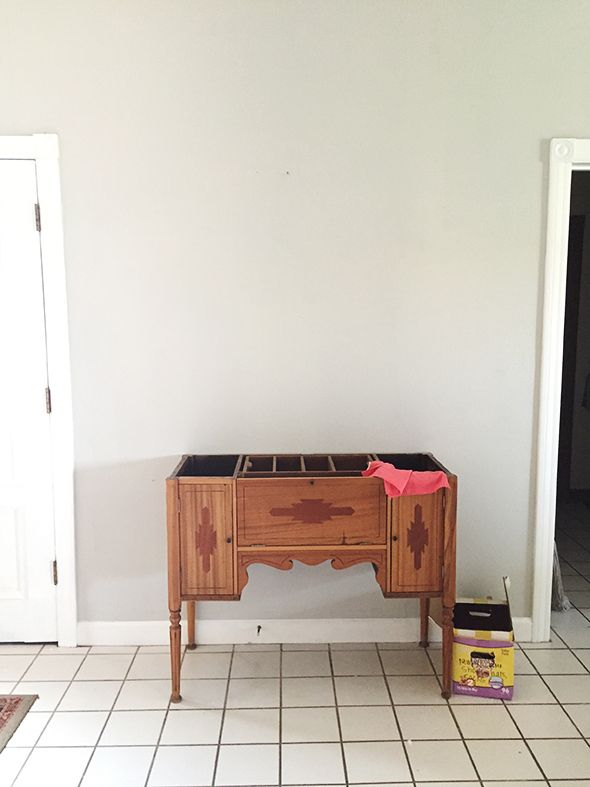
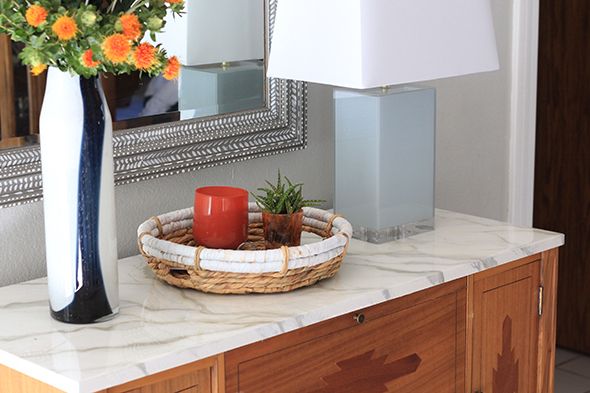
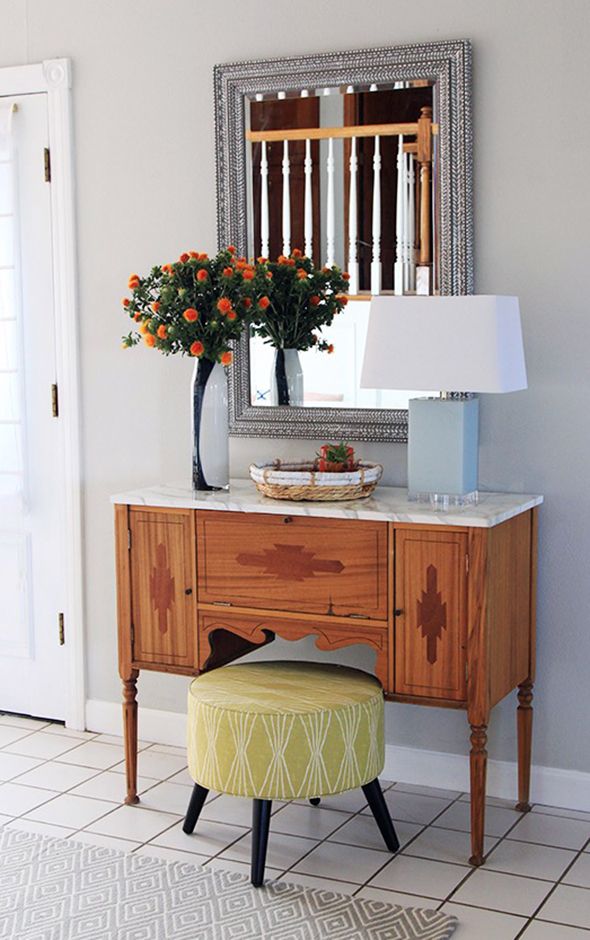
The potential behind a humble cube shelf! You could also give it an amazing facelift to look like a wood console:

or if you’re in the market for a cute kitchen, you can also use a microwave stand

or old cabinets

or, of course, build it from scratch!

The post Cute & Easy Kids Play Kitchen from a Cube Shelf appeared first on Remodelaholic.
 via Marvin Windows and Doors (Bonadies Architect, Jean Allsopp Photography) As we’ve looked around at houses over in Seattle (in preparation for our move), one thing is pretty clear. In our price range in a hot market like Seattle, we’ll likely end up with a house that will need a little TLC. Windows seem to be the […]

 If I lived here, I would love driving down that driveway everyday. Isn’t the house pretty? It is so stately and gorgeous, without being overly pretentious. It’s like a grand family home. I really love all the details and craftsmanship. Take a look and see what you think! Lovely? Yes. I could definitely see myself here. Could you? Of course […]