This post is brought to you by BEHR. Color that's True to Hue. If you feel it you can find it. Visit truetohue.behr.com
I've been itching to paint my bedroom a lighter color this summer. It's been a dark gray-blue-green for about two years now. I've loved it, but our bedroom in Brooklyn was dark too, so it felt like time to lighten things up a little.
Paint is the least expensive and most impactful way to change the feel of a room. It can be pricey to hire out a paint job, but tackling the work yourself is really not that hard. It feels like I've painted something like a hundred rooms in my day, and I've got the process down pat at this point. I'm so excited to share with you my very best tips and tricks for choosing paint colors and then getting it all done quickly and neatly, all while spending the least amount of money necessary!
STEP 1: PICK YOUR SWATCHES
Look at Pinterest and gather a few inspiration images that help you to determine the tone and shade you're hoping to get in your room. Unless your room has the exact same directional orientation, lighting and flooring as your inspiration room, it is a VERY risky move to copy the exact paint color of the inspiration image. At best, it will still look nice, just not the same, and at worst, some unexpected and unwanted undertones will show up and ruin the color for you.
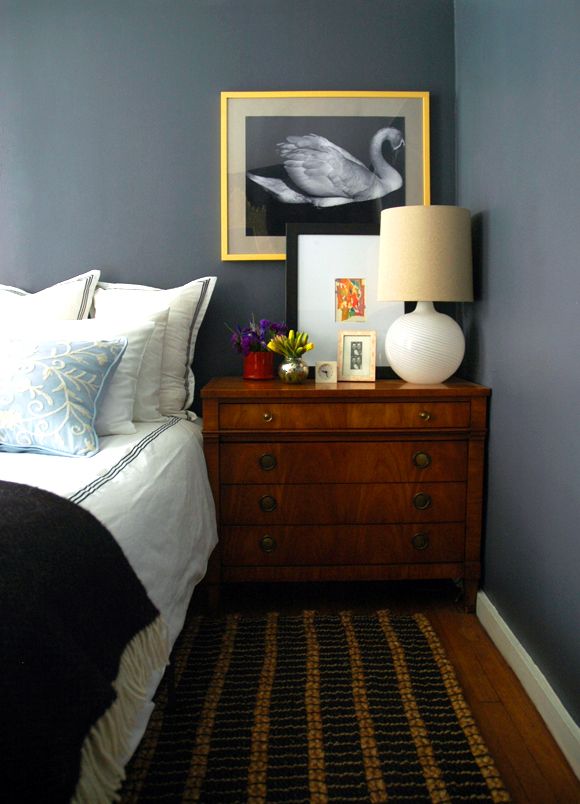
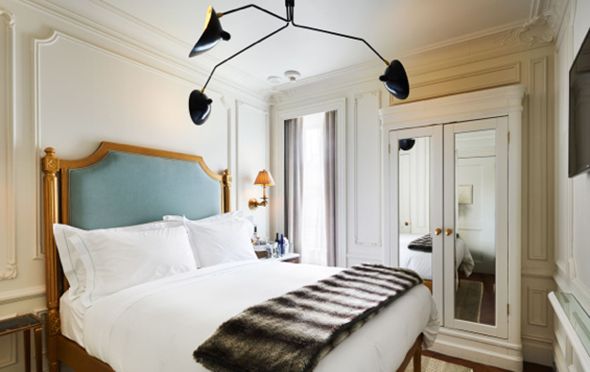
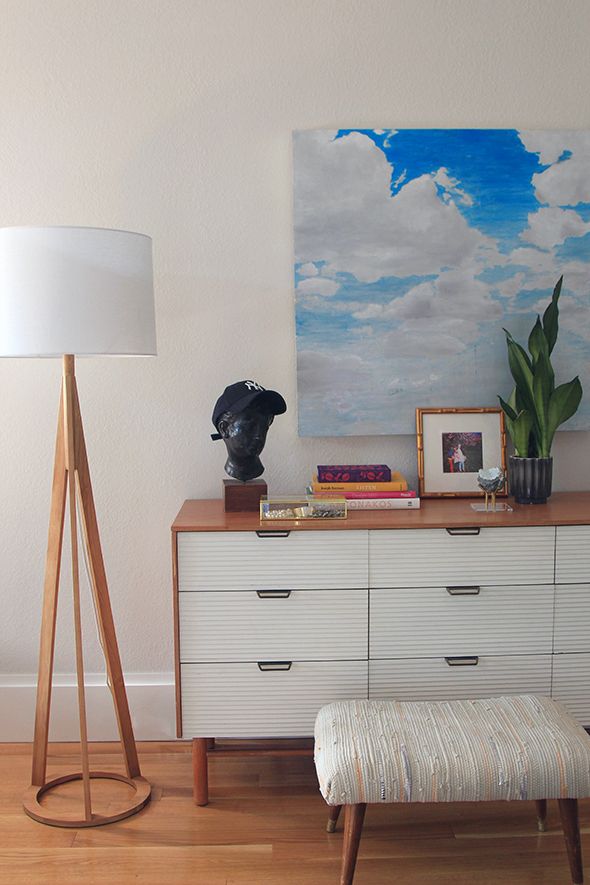
This was my inspiration image - a soft, warm gray. Gray is gorgeous, but it is tricky to get right as you probably know if you've ever used it. It's all about the undertones.
When it was time to pick my wall color, I went in to Home Depot and pulled any swatch that looked like it could maybe be a fit. It's really important to not only see the swatches in the room that you will be painting to get an accurate reading on the color, but it's almost equally as important to see the color in relation to your flooring.
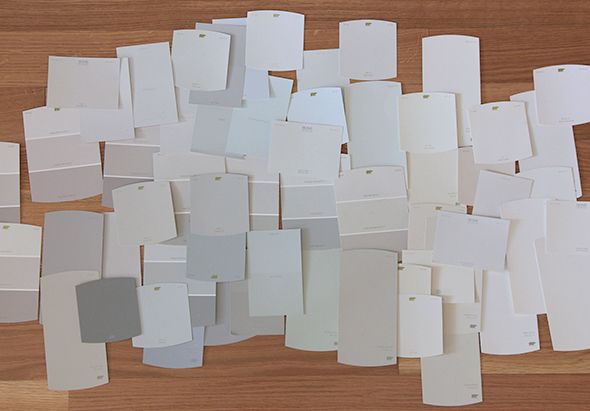
I arranged all the paint swatches on my floor roughly by undertone and by shade. This process helps to get to the bottom of what it is you might like (or don't like) about a color. You'll see that against your floors and in the room's lighting, a handful of colors will emerge as the clear contenders. I wanted warm colors that didn't have too much red or blue in them. These are the colors that ended up being my favorites:
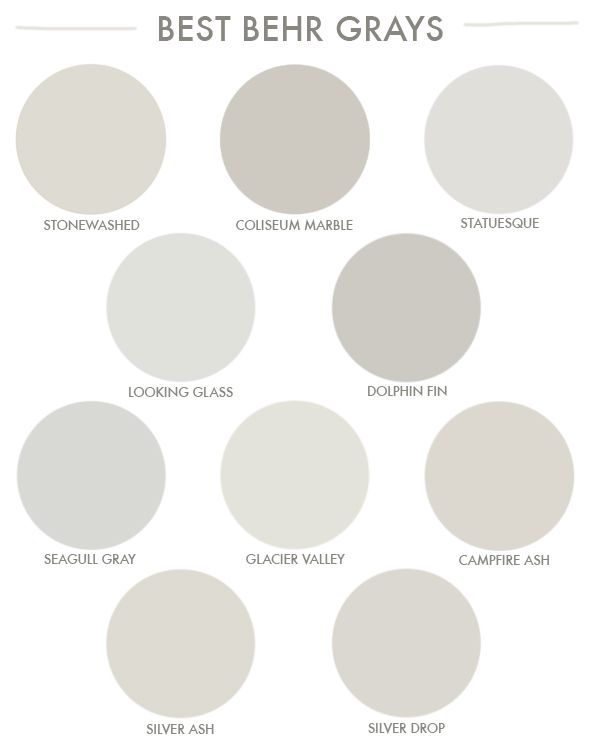
(FYI - Silver Drop and Dolphin Fin are older colors that have to be requested by name at Home Depot's Paint Desk)
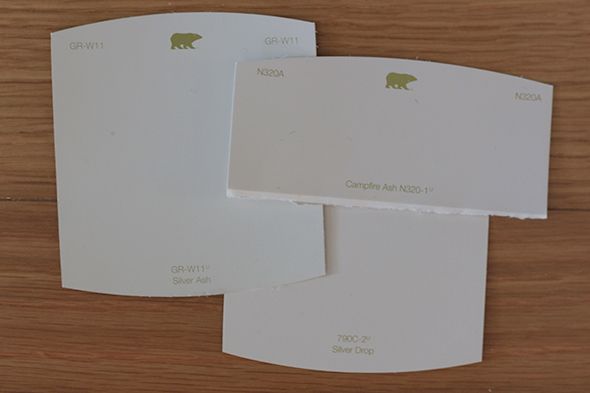
I picked Silver Ash, Silver Drop and Campfire Ash as my three favorites in the space. It can be hard to pin point a specific undertone with just your naked eye, so it can be helpful to take a photo of the swatches all together and the undertones will start to emerge in relation to each other. You can see here how Silver Ash has more green/blue tones, Campfire Ash is more brown/pink and Silver Drop is more yellow, but pretty close to neutral.
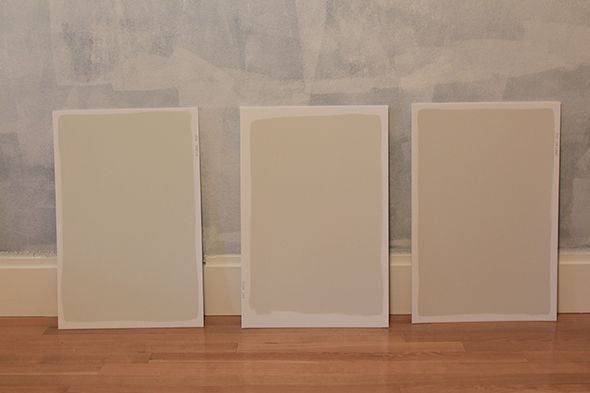
STEP 2: PAINT SAMPLE BOARDS
The next step is to pick up sample pots and make large sample boards of your three or four favorite colors.
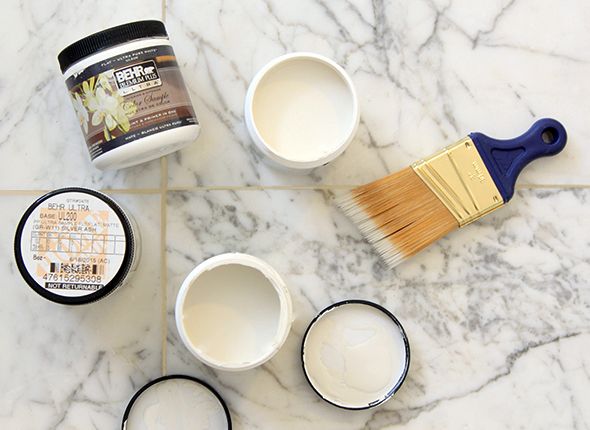
They sell foam core boards at the dollar store or at craft stores for cheap that are great to use for sample boards. You can prop them up in different parts of your room - in full sun and in shade - to get a good sense of how that color will look in all types of light.
They sell foam core boards at the dollar store or at craft stores for cheap that are great to use for sample boards. You can prop them up in different parts of your room - in full sun and in shade - to get a good sense of how that color will look in all types of light.

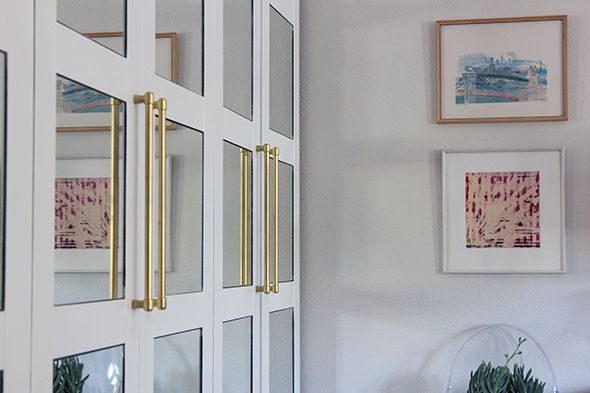
It's also important to see how the color looks under artificial light, so make sure you look at the boards at night and take more photos. This is when I decided to for sure go with the middle color, Silver Drop. At night Silver Ash looked too blue and Campfire Ash looked too pink/purple. Silver Drop was the perfect warm neutral I was looking for.
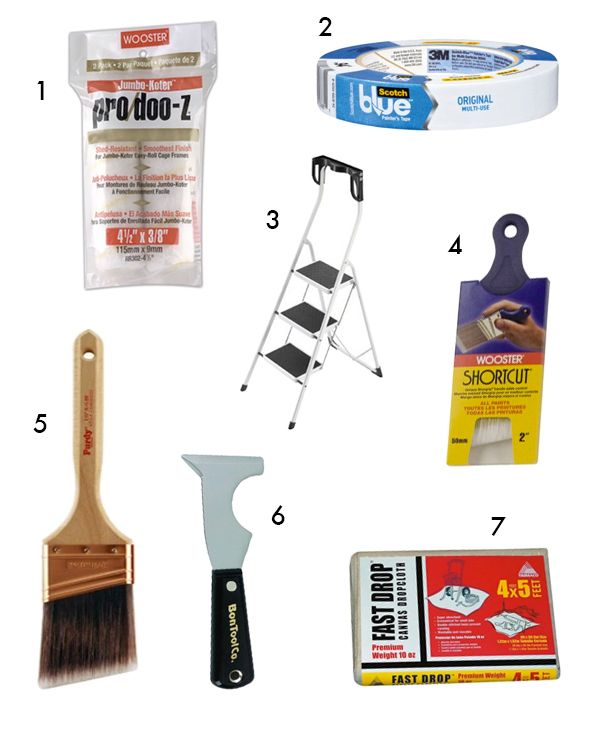
STEP 3: GATHER YOUR SUPPLIES
I keep a good stock of my favorite painting supplies on hand. These are all of my tried and true favorites that usually represent the perfect balance of performance and price.
2 - I don't use tape every time, but it's a good idea to keep some nearby. Make sure to buy the tape that has the appropriate amount of adhrsive for the application (glass or walls or floors, etc).
3 - I invested in one of these three-step stools and I use it all the time, especially for painting projects. I hardly ever have to lug in my 8' ladder any more!
4 - These little sash brushes are cheap and good. I keep a few of them on hand at all times!
5 - I have had the same Purdy 2.5" brush for three or four years and I love it. It holds just the right amount of paint to cut in smoothly without drips.
6 - These 5-in-1 tools do it all. I use mine for everything from scraping off old paint, to applying spackling, to opening paint cans. It's a helpful tool to keep nearby.
7 - I used to buy big 9x12 drop cloths, but unless I'm painting a completely empty room (rarely), I much prefer small 5x5 cloths that I can scoot around furniture. The one exception is if I'm painting a ceiling and if that's the case, then I usually empty the room anyway.
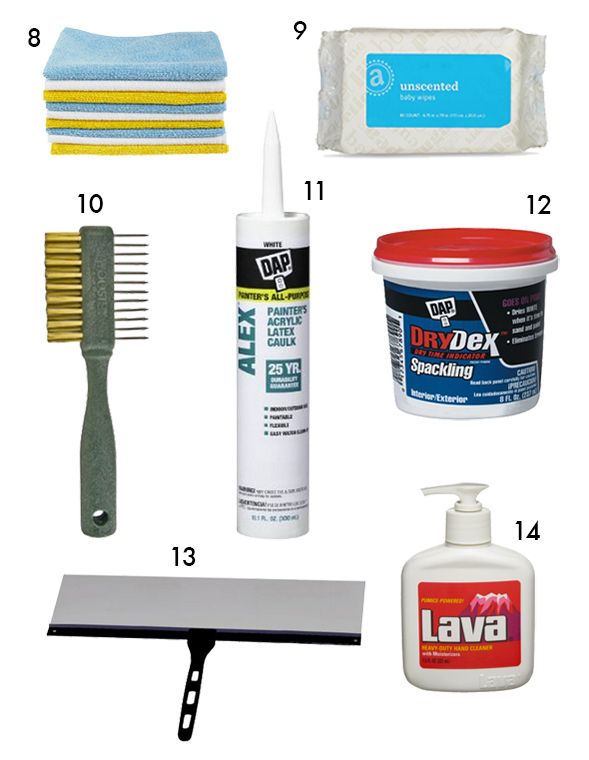
8 - I use these microfiber cloths all day, every day. They are great for cleaning and they are so helpful for prepping walls and trim before painting.
9 - While I'm painting, rather than getting paint on my favorite microfiber cloths, I use baby wipes to clean up drips or mistakes. Works like a charm!
10 - I keep this paint brush cleaning tool handy to help me prolong the life of my brushes. It's important to not get too aggressive on the bristles though or you'll start losing them!
11 - This is the best caulk to use for moldings and trim! It dries quickly, without a sheen and it's completely paintable! I don't like the silicone version of the same caulk.
12 - This spackling goes on pink and turns white when it is completely dry and ready for paint. It works great for filling in nail holes.
13 - I use this paint shield instead of painter's tape. I feel like it saves me a TON of time and cash!
14 - I don't like wearing latex gloves while I'm painting, so I usually end up with paint all over my hands. This soap works like a dream, even for oil-based paints!
STEP 4: PREP YOUR WALLS
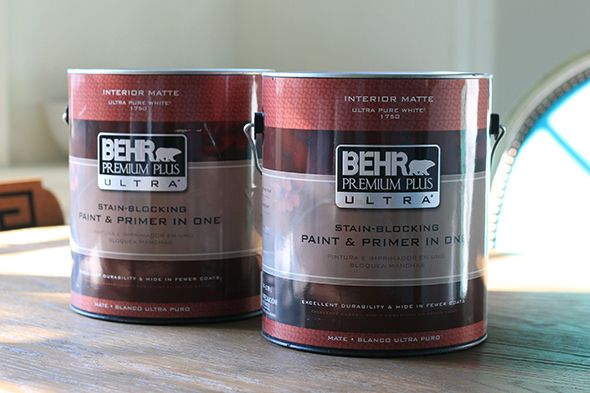
I don't usually need a primer when I'm painting with BEHR because it is a paint and primer in one, but I had some extra primer on hand and the color on our walls was so, so dark. But after one coat of primer I only needed to follow up with one coat of the BEHR.
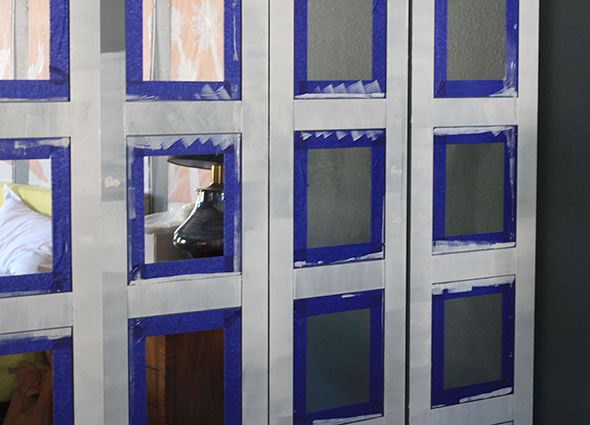
STEP 5: PAINT TRIM
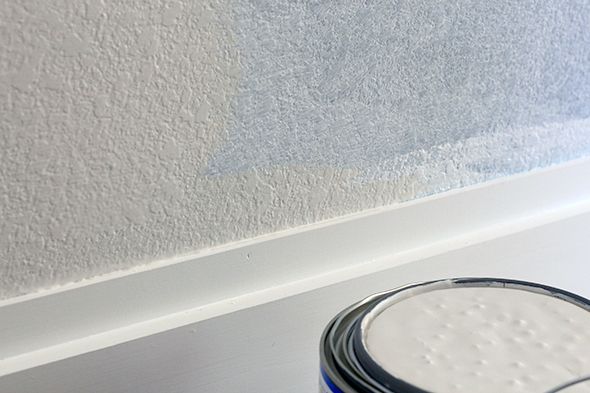
Before even breaking into the wall color though, it's a good idea to paint the trim first using a damp 2.5" angled brush. By painting the baseboards, casings and crown first, you can be as messy as you want on the wall. No need to use rolls and rolls of pricey painter's tape. When I'm painting the baseboards and the crown I use a shield to protect the floor or the ceiling as I go. If there are any leaks, I just use baby wipes to clean up the messes as I go. It is a fast and very easy way to get through what can be the most tedious part of painting a room!

STEP 6: ROLL ON PAINT
Believe it or not, the hardest parts are over at this point! Rolling on and cutting in will go SO fast if you're ready and all the furniture has been pushed to the center of the room. This is when I break out my 5x5 ft drop cloth and my triple step stool. Both are just big enough to do the job, but are small enough to move very easily.
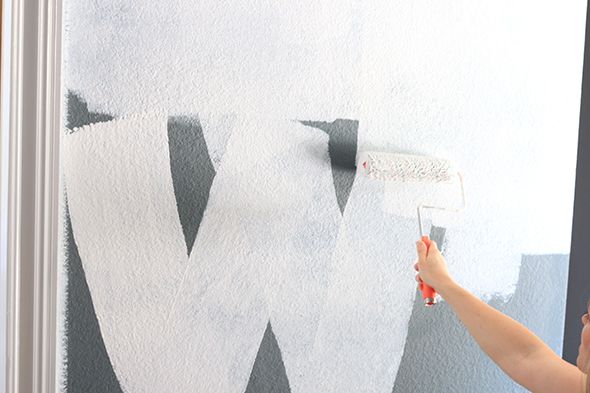
The best and most efficient way to roll is to start with a damp (not wet) roller cover, which helps the roller to soak up just the right amount of paint. Load your roller, then starting at the ceiling and working your way to the floor, paint a 3x3' "W" and then fill in the in between also at an angle. Resist the urge to go over the area multiple times, which will just pick up paint rather than deposit it. Then load the roller again and paint another "W"below the one you just finished, and continue on, column after column, top to bottom. This approach goes unbelievably fast and always makes for an even coat the first time that won't be too thick or too thin. I have textured walls in my bedroom, which can be a beast to paint, but the "W" technique makes it so there are never any missed spots the first time.
STEP 7: CUT IN
Once all of your walls have been rolled, use a damp 2" sash brush to cut in along your trim. I have a pretty steady hand, so I don't bother with painter's tape here. I just keep the baby wipes handy to wipe up mistakes as soon as they happen.
If you do need to use painter's tape, I like to pull it off almost immediately after painting. If you let the paint dry on the tape you risk some of the paint pulling off with the tape.
Also, if you need to stop and take a break for a little while, put your brush in a sandwich baggie and stick it in the freezer to slow the drying process! This works for rollers too.
STEP 8: CLEAN UP
I have to admit, I usually toss my roller sleeves because it takes so much work and water to get them back to new, but I do take extra good care of my paint brushes. After I have finished cutting in, I wash my brush with warm soapy water and use a brush comb to clean out any dry bits. A good brush can and should last for years!
I have to admit, I usually toss my roller sleeves because it takes so much work and water to get them back to new, but I do take extra good care of my paint brushes. After I have finished cutting in, I wash my brush with warm soapy water and use a brush comb to clean out any dry bits. A good brush can and should last for years!
And that's it! Not too bad, right? I've had such great results with these simple steps. Is there anything missing here that you like to do when painting a room or choosing paint colors? I'd love to hear your best tips!
Walang komento:
Mag-post ng isang Komento