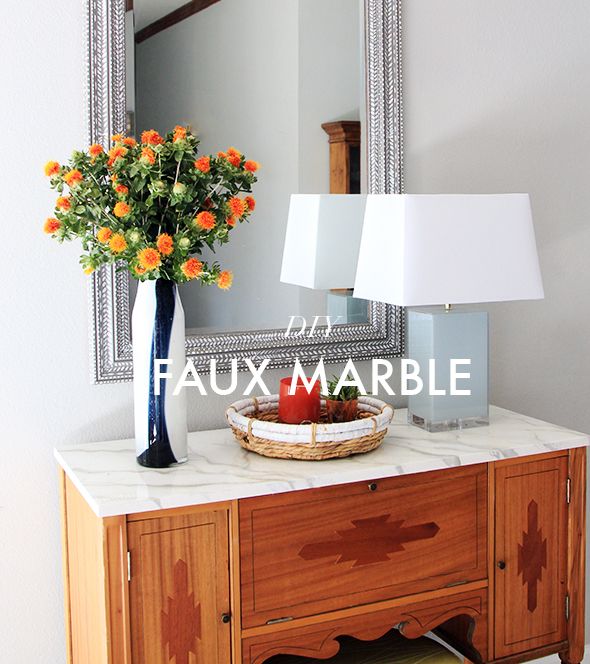
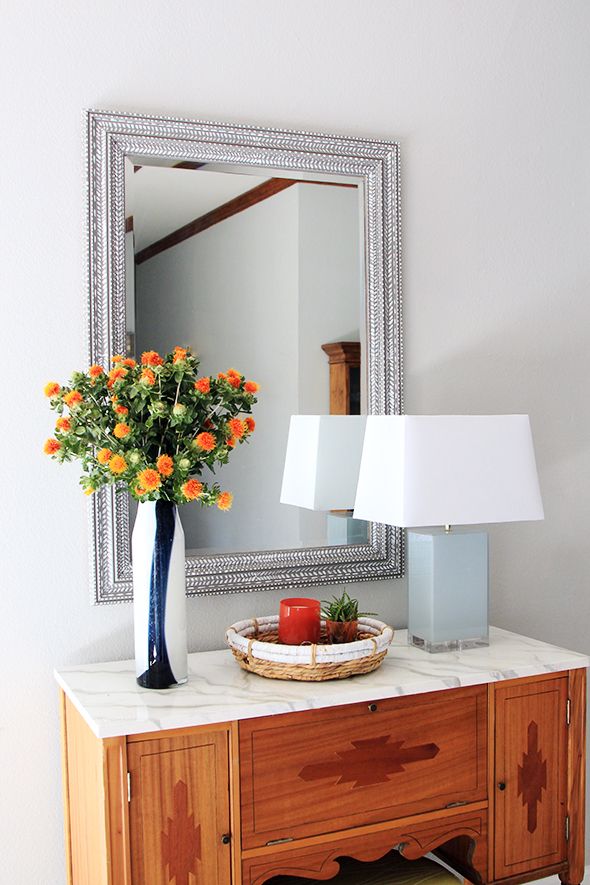
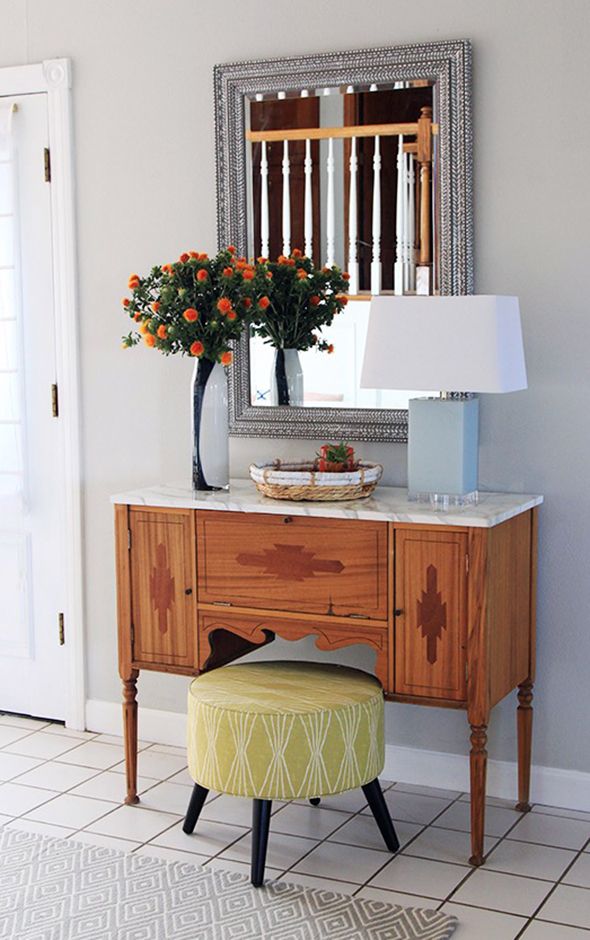
We needed a new top for the vintage credenza for Ali's house and this faux marble idea seemed like the perfect, super inexpensive solution!
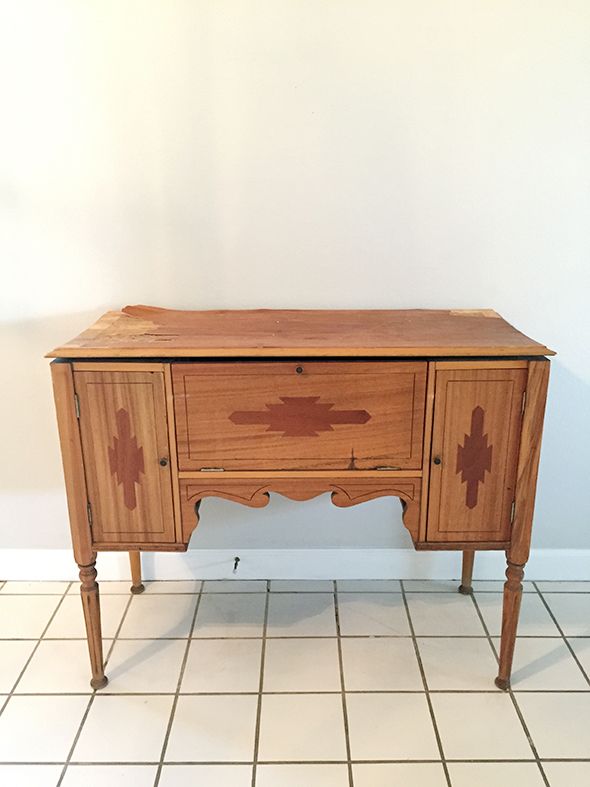
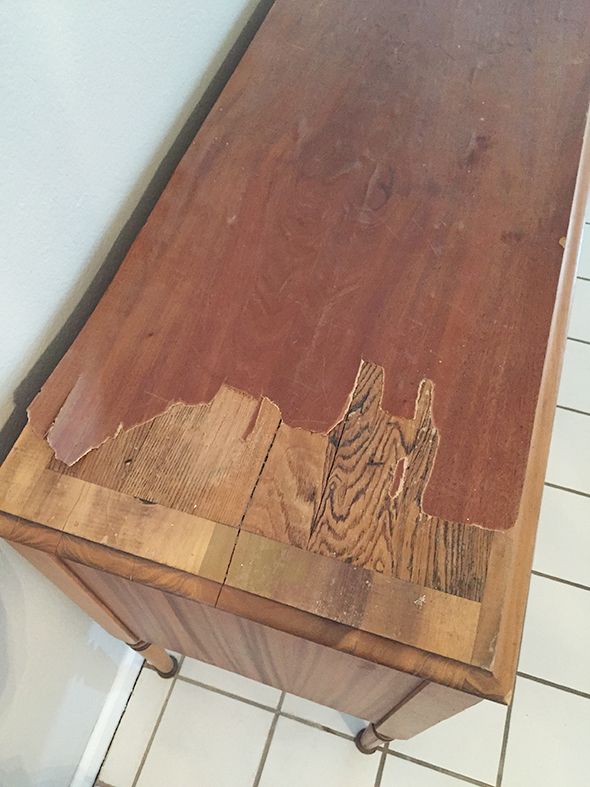
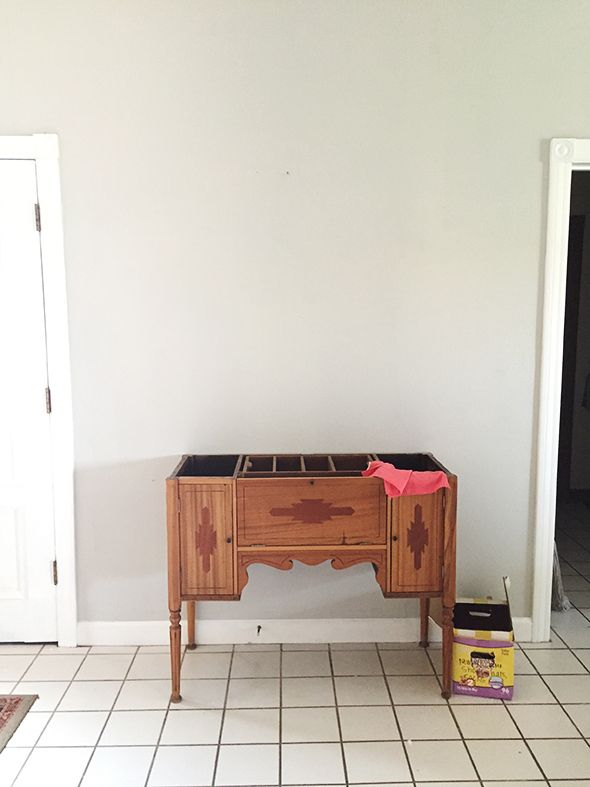
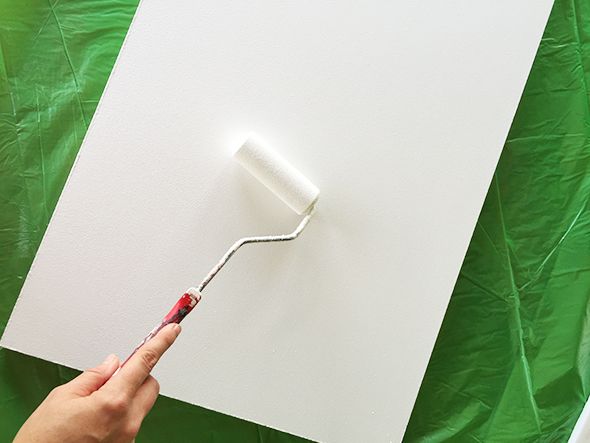
I removed the old, beat up top and had a piece of 3/4" MDF cut to the same size and painted it with white zinsser primer.
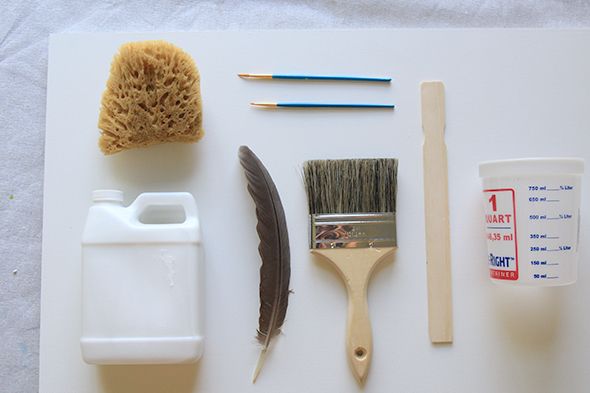
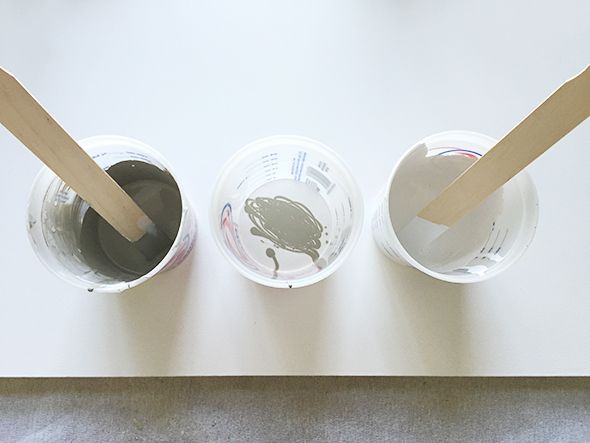
You'll only need two paint colors for this project: black and white. You can mix in little bits of blue or brown to cool or warm up the gray if you want. Use the containers to mix up small batches of different shades of gray. You could just do this on a paper plate if you wanted and if you're doing a small surface like mine.
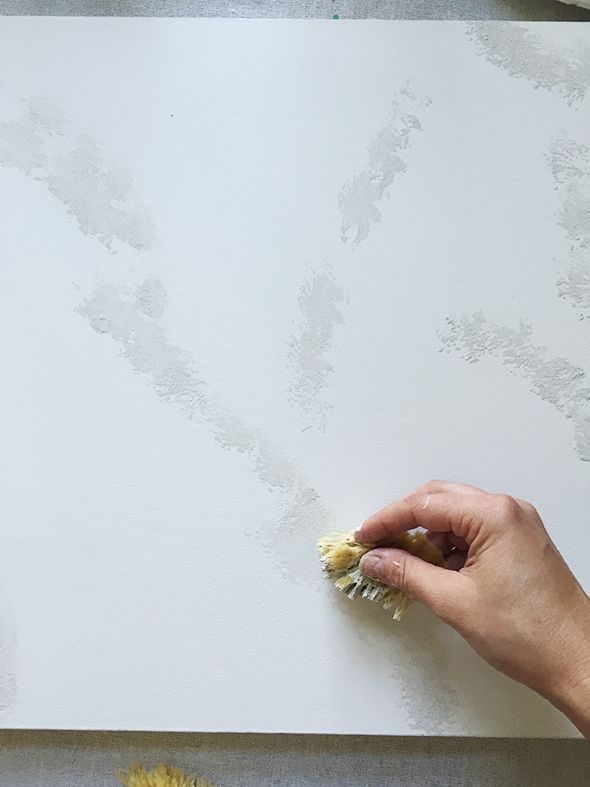
Next you'll want to cut your sea sponge down to a small piece and sponge on really loose veins. It's a good idea to reference a couple of photos of marble on google images to help you understanding what real marble looks like. Something I noticed is that veins branch off from each other and usually don't ever cross paths or create an X.
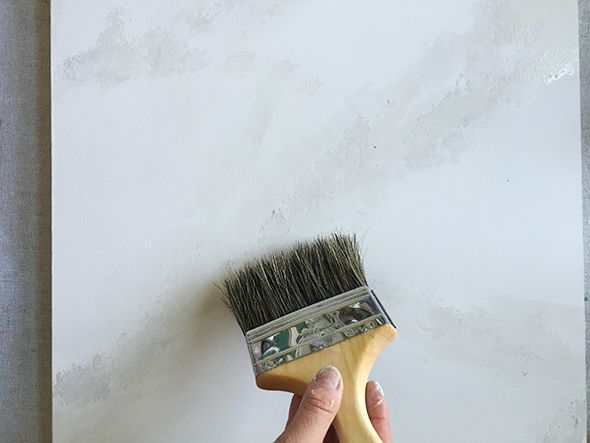
You just sort of get into a rhythm of sponging on different colors and tones of the gray mixture and then feather the edges with your big soft brush.
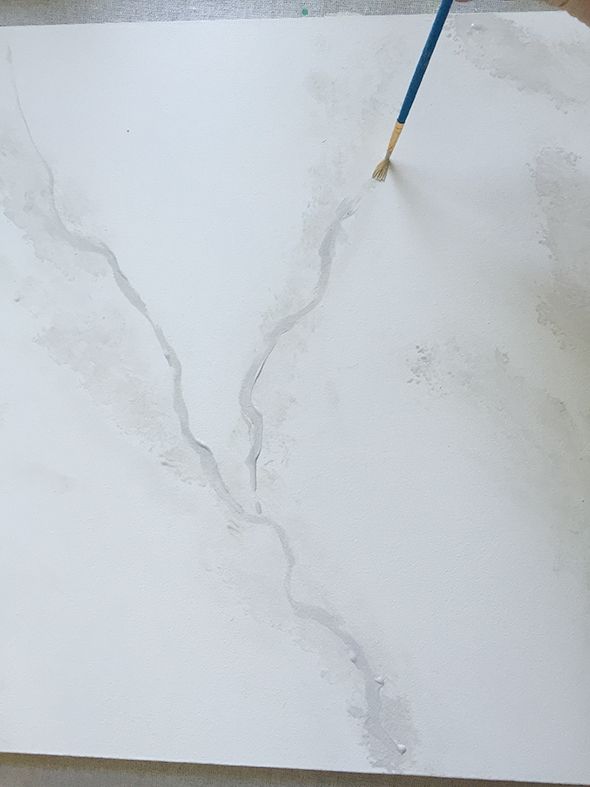
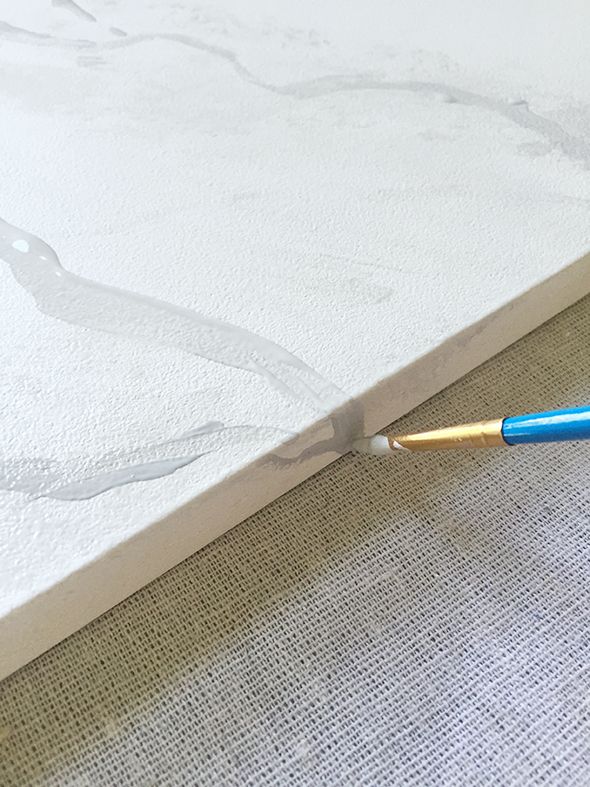
Then you use an artist's brush to drag in solid veins. I learned the the veins should be less curvy and more jagged. It's also best to pull and twist the brush toward you. Also, don't forget to continue the vein down over the edge.
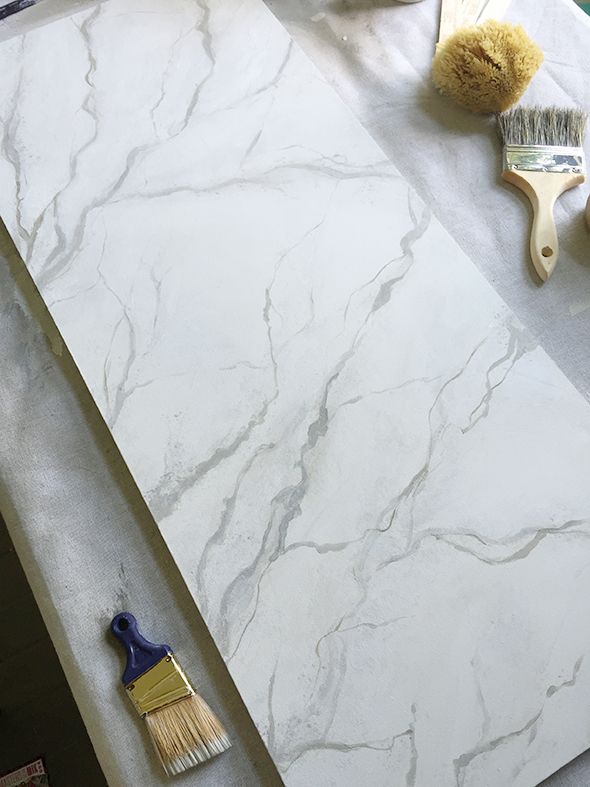
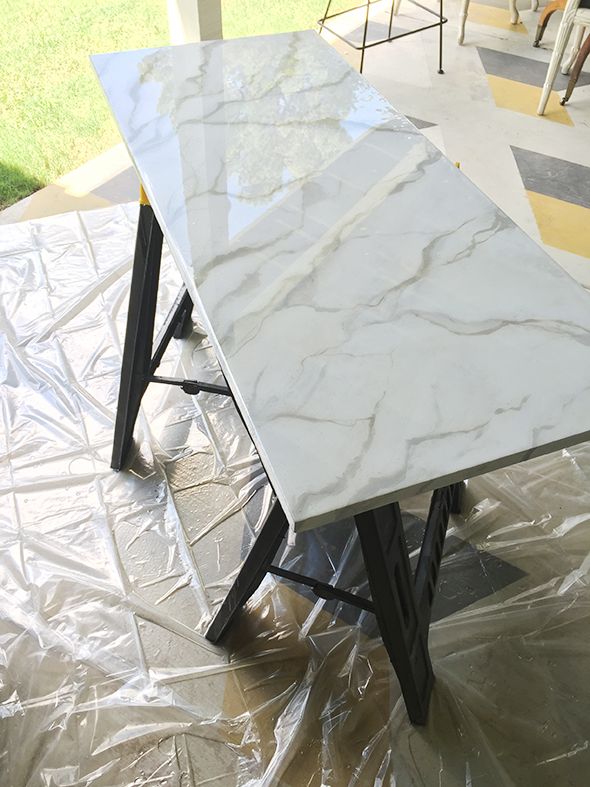
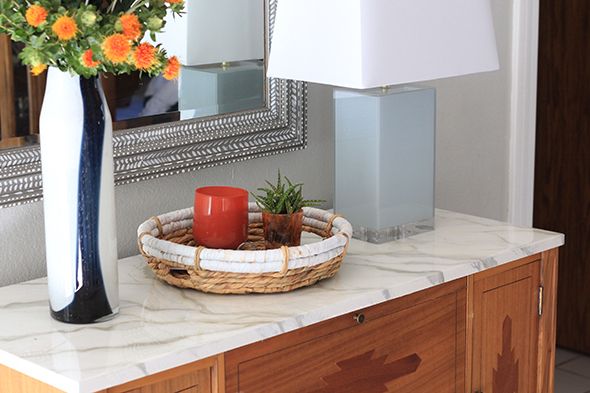
After a while of playing with it, a marble-like pattern will (hopefully!) start to emerge. It's a good idea to leave it and come back to it a few times, but don't overwork the paint either. I probably should have stopped a little earlier, but I still like the end result.
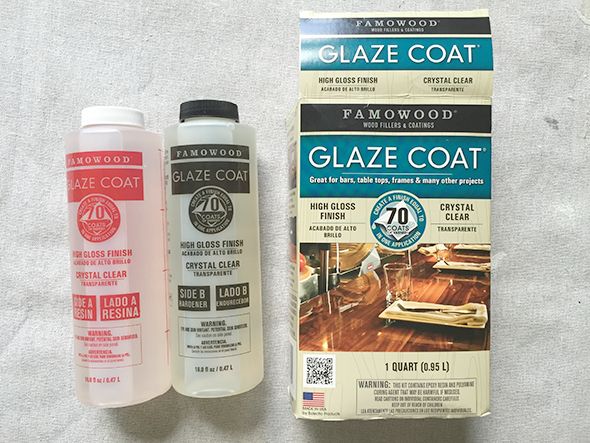
Like with any epoxy, you just mix the two bottles together and then spread quickly before the epoxy hardens.

You can use a plastic spatula to spread the epoxy, but I just used a paint stirrer. I used an entire quart here.

After a few hours, the resin will be dry to the touch and fully cured within two days. It's a really cool product!
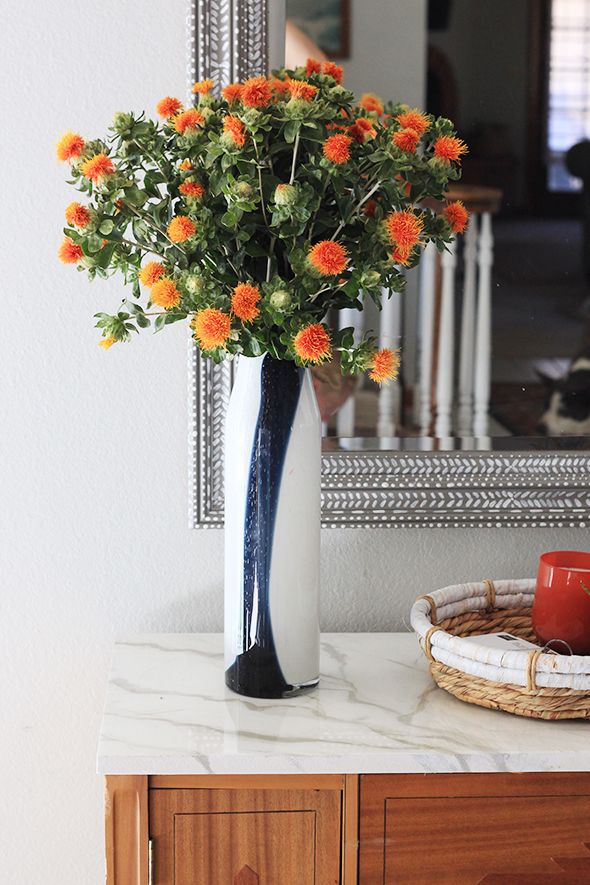
I love how this one turned out. I think the resin really takes the look to the next level.
It's not perfectly perfect (I think it gets better with some practice), but you just can't beat the price of a little paint on a scrap piece of MDF! :)
Walang komento:
Mag-post ng isang Komento