Hello, Remodelaholics! This is Tamara visiting you again from my blog Provident Home Design where I share ideas on creating a beautiful home on a budget! Past projects I’ve shared on Remodelaholic include adding trim above the mantel, a DIY pedestal side table, and a no-fail tutorial to creating your own abstract painting.
Today I want to take you outdoors to enjoy a game of Cornhole!
If you are unfamiliar with cornhole it is a fun game that can be enjoyed by both kids and adults! You can learn how to play it here.
Unfortunately, most cornhole sets cost an upwards of over $100 to purchase.
At the beginning of last school year I signed up to run the activity for my 1st grader’s school Valentine’s Party. A week before the party I looked into the garage and saw a pallet I had picked up from a friend awhile back (because I knew I would use it “someday”).
The idea to turn the pallet into a mini cornhole set immediately popped into my mind. And boy was it a hit at my son’s school party!
I purposely painted it white so it could be used for other holidays and events. Then all you have to do is change out the bean bags which are so easy to make!
Here are the ones I made for the Valentine’s Day Party.
I made my cornhole set smaller so it would be easier to carry around, to store, and so I could get two of them out of 1 pallet. If you have two pallets you can make them to the standard size.
Are you ready to make a Cornhole set??? Great!
How to Build a Mini Cornhole Set from a Pallet
Supplies
- Jigsaw
- Drill
- Miter Saw (optional)
- Pallet
- (1) 4x4x6- $10
- (1) 1/4 inch thick 4x4ft piece of plywood- $11
- (1) 12 ft 4.5 inch wide piece of molding (I used a simple baseboard molding)- $13
- (6-8) 1.5 inch wood screws- $3
Directions
1. Measure and mark your pallet where you will be making your cuts.
My pallet was 32″ x 48″. Using a jig saw I cut the pallet into two 32″ x 24″ pieces (as shown below).
2. Now measure and mark the 4×4 to the width of the pallet. Since the width of each cut pallet was 24 inches I cut my 4×4 into two 24 inch pieces. I used a miter saw for these cuts but a variety of saws could be used.
3. Place the 4×4 under the cut pallet and screw the bottom pallet boards to the 4×4 (as shown below).
This is what it should look like now. If there are top boards in the middle top section where the hole will be then cut the boards off. You can see where I did this below.
4. Turn the “cornhole skeletons” face down onto the plywood. Trace around the body of each of them and then cut along the traced lines with a jig saw.
5. Place the cut out plywood onto their respective “cornhole skeletons” and nail it into the top and bottom boards (along where the arrows indicate).
6. Now we will cover the sides of the pallet. Measure and Mark the length of the sides of the pallet. Mine were 32 inches so I cut (4) 32 inch pieces.
Nail or screw the side moldings into the ends of the boards.
7. Trace around the lid of a standard paint can (or around anything that is 6 inches in diameter) making sure that it is centered to the board.
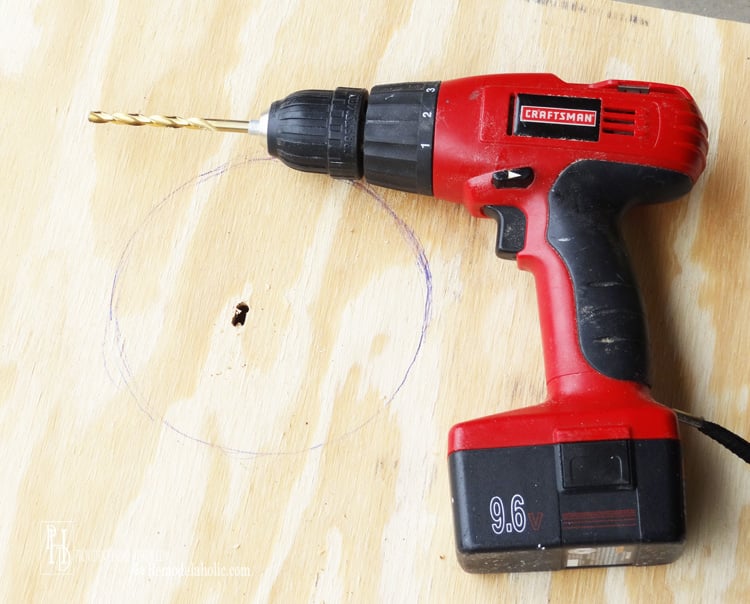
Then drill a hole in the middle of the circle large enough to fit the jigsaw blade in. With the jigsaw, cut out the traced circle. Note: You may want to sand the edge of the circle after it is cut out to make it smoother.
8. Using spackle and a putty knife I filled in any gaps between the top plywood board and side boards. Then I painted the whole thing white but you can paint or stain it to your heart’s content!
Voila, you’re done! You can add more decorative molding if you want to! I laid a navy blue piece of fabric inside the cornholes for aesthetics and so the kids wouldn’t get splinters when they retrieve the bean bags.
Now if you want to make your own bean bags it is really simple!
1. First, cut out 6.5 x 6.5 inch squares of fabric.
2. Lay two squares together with top sides facing each other.
3. Starting at one corner and sew together leaving 1/4 inch allowance on the sides.
Leave 2 inches unsewn and turn the fabric right side out by pushing the inside fabric through the 2 inch hole.
Note: You may want to use a zig zag sewing stich to keep the bag from busting.
4. Stick the end of a funnel through the hole in the bag and drop dried beans through the funnel and into the bag. Fill the bag 90% full and sew the 2 inch hole shut.
Now it’s time to play!
We’ve had a blast with them and hope you do too! They will sure come in handy next month when we are co-hosting my family reunion! Have a great day and I hope you will visit me soon at Provident Home Design for more DIY and Design inspiration and budget ideas!!:-)
————————————
Ready to play more games?
25 more backyard games to make yourself
and don’t forget the drinks!
Fill a DIY caddy with drinks and treats for portable snacking
or build a patio table with built-in coolers.
The post Budget-Friendly DIY Cornhole Set from a Pallet appeared first on Remodelaholic.


Walang komento:
Mag-post ng isang Komento