A backsplash makes such a big difference to a kitchen or bathroom! And while I’m typically a fan of the full-height backsplashes, I really like the shorter penny tile backsplash that our guest is here to share today. It looks wonderful topped with a thick wood floating shelf, and the changes really made for a great update to Madeline’s bathroom!


painted faux brick backsplash


or of course, we have lots more backsplash ideas here

Check out what Madeline did (plus a smart tip for cutting straight with a circular saw!) and get inspired to make over your bathroom!
DIY Penny Tile Backsplash + Floating Shelf
by Madeline from Create Bake Celebrate
Hi there Remodelaholic readers! My name is Madeline & I am a Latin teacher / cheerleading coach by day & a blogger by night. I blog with my sister over at Create Bake Celebrate & we have a ball talking about home, fashion, food & fitness! We would love to have you for a short visit or an extended stay : ) Or check us out on Facebook & Instagram!


When my husband and I bought our home, everyone told us how lucky we were that we could just move in and not do a thing! Well… that lasted all of about 2 minutes and then I wanted to change everything. Some big things, some little, but I just wanted to make my house mine! My husband likes to tell me that I don’t sleep at night because I am mentally doing a project- whoops!
One of the first things on my list was our master bathroom


– again, not horrible- it had granite counters and a giant walk in shower- but everything was beige and the walls were purple and I just could not take it one second longer!

We ended up painting, making over the light fixtures, rearranging some of the storage & adding floating shelves over the toilet, but my favorite project was our backsplash & shelf!
While wandering around Pinterest one day I had seen a similar image- I was drawn to the retro flair of the penny tile (from Lowe’s!) & the rustic chunky would shelf. I had to have it! And if you have to have one too- follow along with our process.

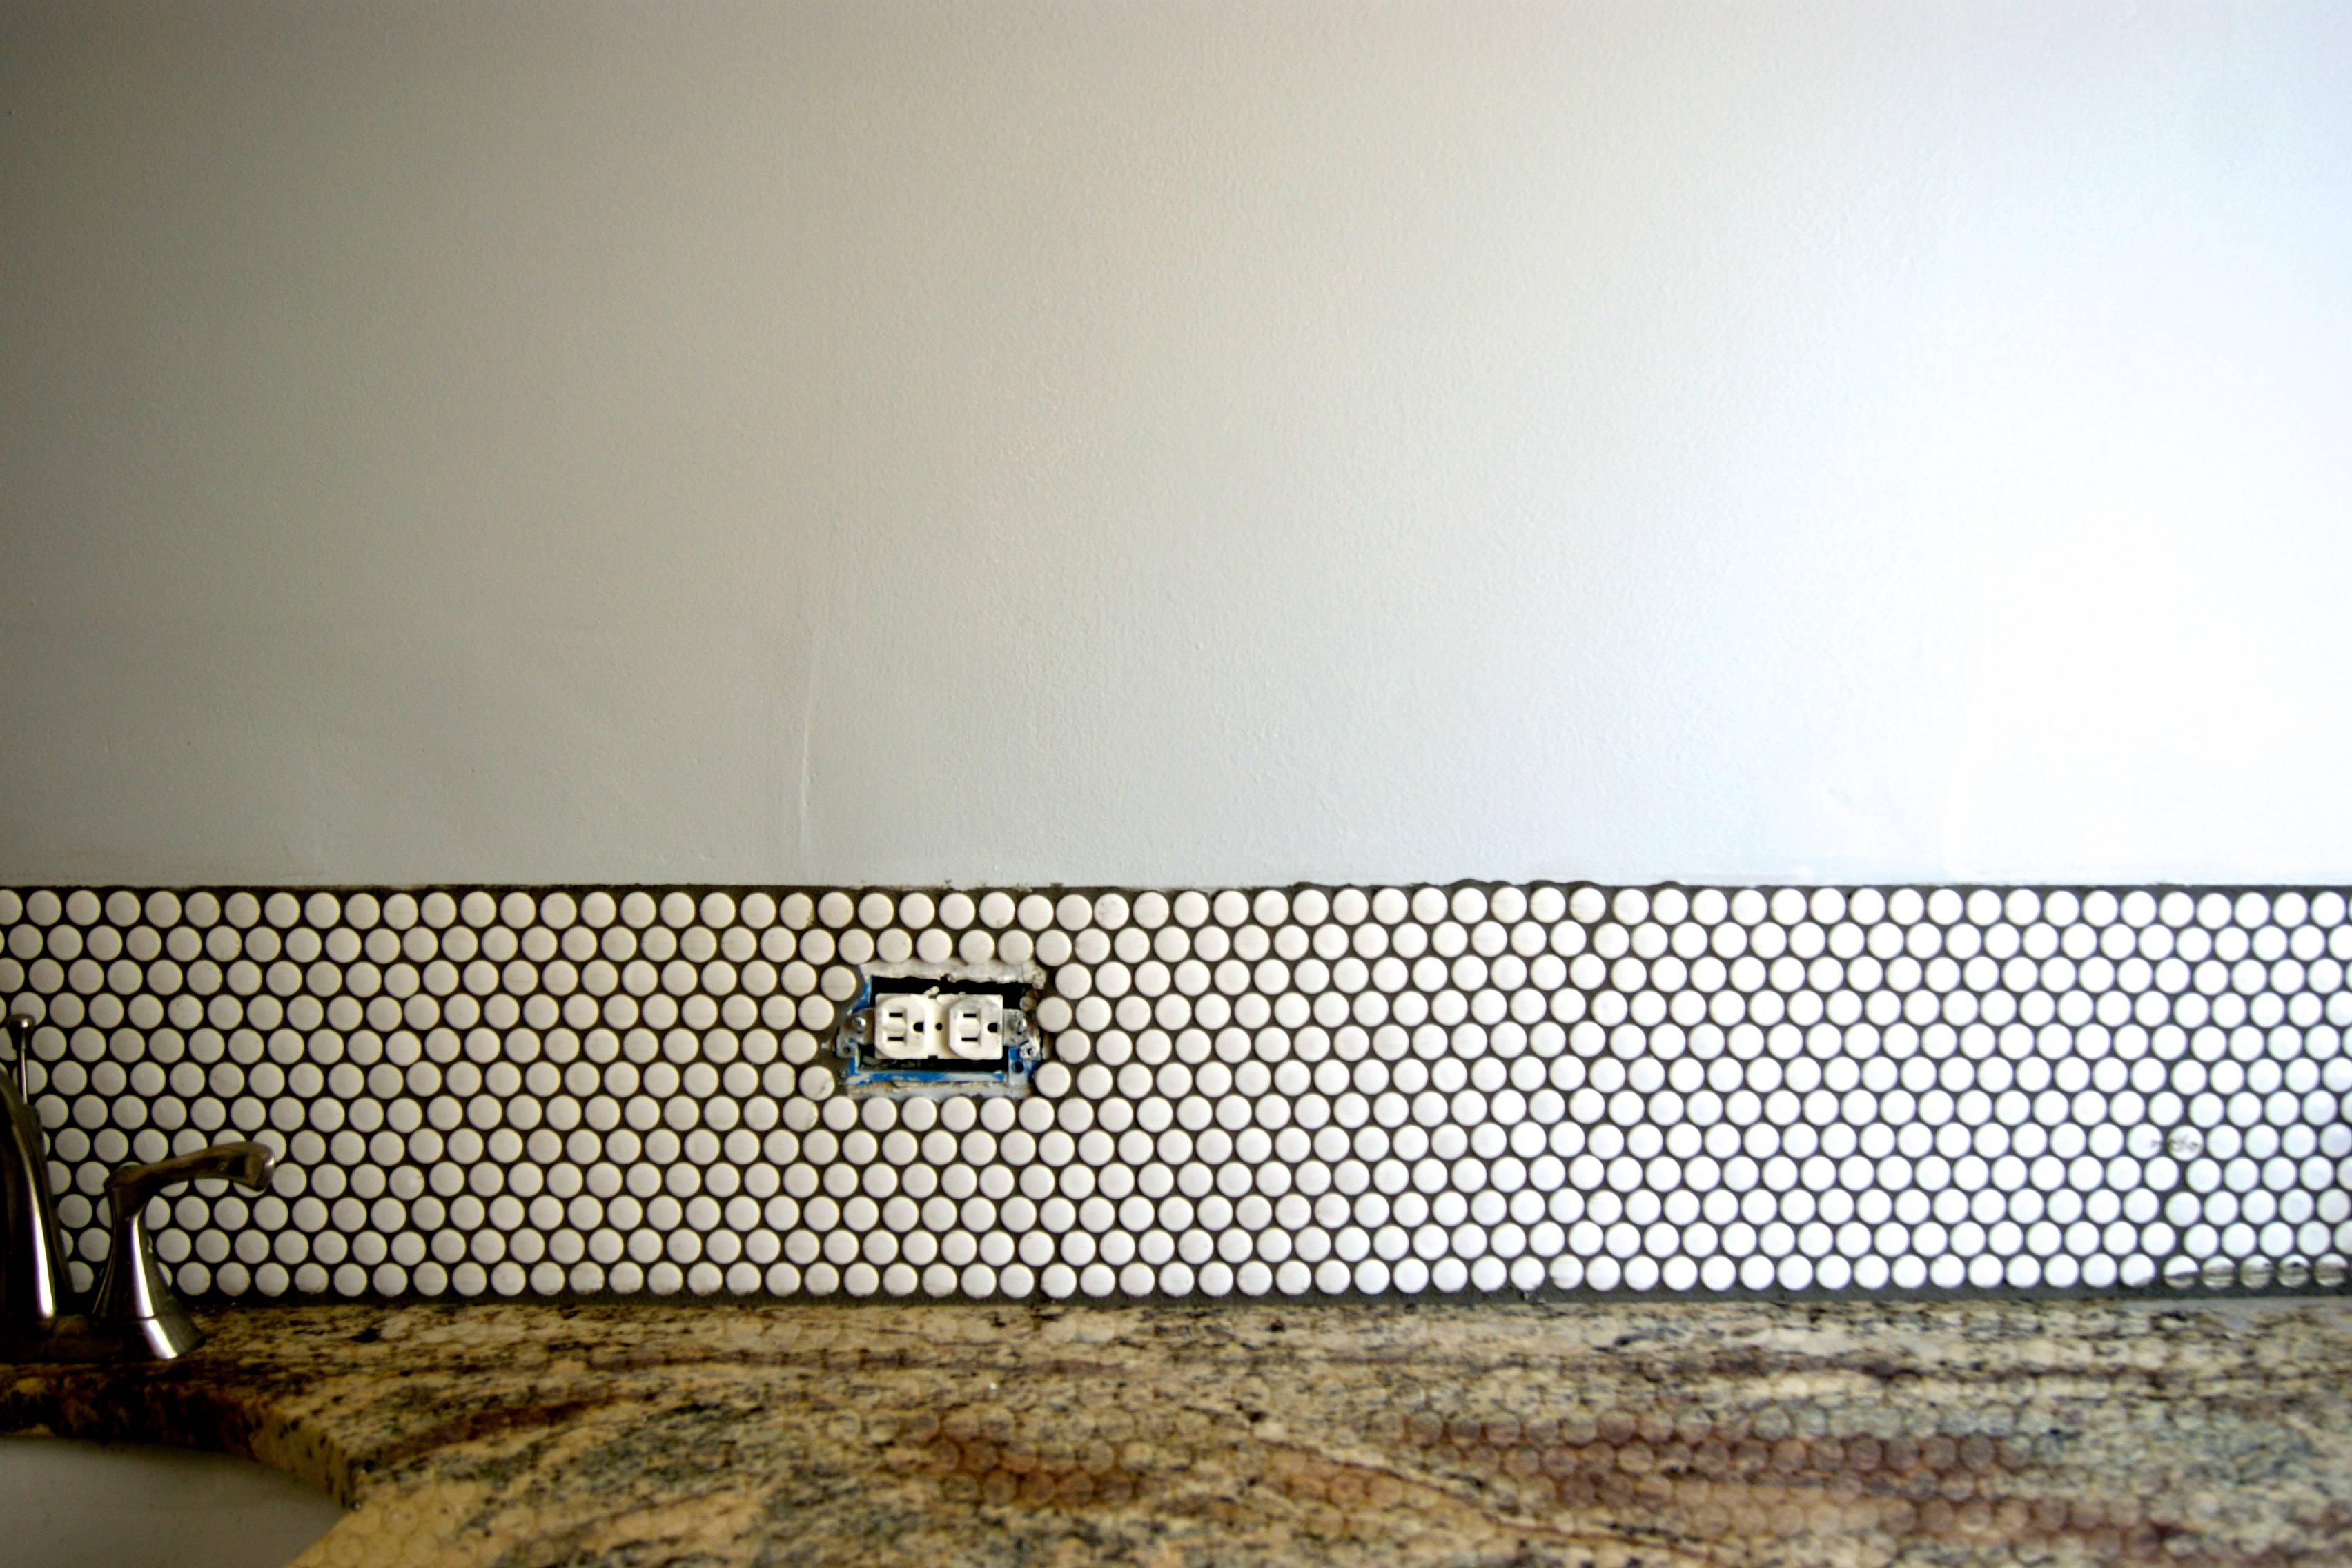
We started by tiling the backsplash. I kept the height the same as one sheet of penny tiles so that there was less cutting involved.

For the edges I used tile snips to cut them in half & the backsplash went up in a day. Thinking of penny tiling? Here are a few tips:

Tips for Installing a Penny Tile Backsplash
1. Use only a little thinset- if you have too much it will squish out between the tiles and make it harder to grout.

2. Make sure to use a spacer between the penny tile and your countertop. That will help keep a straight line.

3. Squish and step back- when you put two sheets together, you will want to make sure that there is no visible seem. Squish them together but then look at them from a distance- this will help your eye pick up on any oddities that you can fix with more squishing.

4. Penny tile = sanded grout.

After we finished the tile (a relatively quick task), it was time for the shelf. This was the moment that I had been waiting for! I was really stuck on having a nice thick shelf, so we actually went to a lumber yard that specializes in less common pieces of wood- however, I think that this would look great a little bit thinner with lumber from a big box store or even two pieces fused together.
Since we got a giant slab of wood, we had to cut it down (boy, was my husband mad when he learned we drove a long way and hauled a giant piece of wood that he would then have to cut!). At this point I wasn’t sure how to proceed. I had a thick piece of wood that I needed cut with a perfectly straight line- and there was no table saw in sight! Luckily, my dad talked us through the process using a circular saw.


How to Cut a Straight Line with a Circular Saw
Want to try? What you need:
- clamps
- straight piece of wood
- circular saw

1. Find a straight scrap piece of lumber. We used some extra trim that my dad had laying around. Then, measure how far your blade is from the guide edge of your circular saw. Ours was 1.5 inches.

2. Decide how wide your want your board to be. Then, subtract the width between your saw & blade, in our case 1.5 inches. Draw this line all the way down your board- making it straight.
SONY DSC


3. Then clamp your piece of wood on the line- making sure that it is on the line you drew. Now, you can push your saw guide up against the clamped wood when making your cut. This will give you a straight line.
Since you subtracted the space between the guide and the blade, the cut will end up being that much larger- the size you need!

After we had the perfect width, I sanded and sanded and sanded some more.

Then I stained and added 4 coats of polyurethane (wanted to be safe since it would be near water!). Overall, the sanding and staining took the longest time- I wanted it to be perfect!

After the poly had cured, we hung the shelf with l brackets. Every time I see the shelf + penny tile combo, I smile.


Thanks for checking out my project, you can find the full recap of all of the products here– and feel free to stop by Create Bake Celebrate anytime!

—————————————–
Thanks for paying us a visit, Madeline! Your bathroom looks great!
Be sure to head over to Bake Create Celebrate for more smart tips (like these tips for cutting in, not taping, when painting) and great projects (like this IKEA hack console).

The post Tips for Installing a Penny Tile Backsplash + Floating Shelf appeared first on Remodelaholic.
Walang komento:
Mag-post ng isang Komento